Python Setup Tips
There are several ways to install Python and set up your computing environment. Here, I share my personal preferences.
Note: If you are running any of the notebooks on Google Colab and want to install the dependencies, simply run the following code in a new cell at the top of the notebook and skip the rest of this tutorial:
pip install uv && uv pip install --system -r https://raw.githubusercontent.com/rasbt/LLMs-from-scratch/refs/heads/main/requirements.txt
The remaining sections below describe how you can manage your Python environment and packages on your local machine.
I have been a long-time user of Conda and pip, but recently, the uv package has gained significant traction as it provides a faster and more efficient way to install packages and resolve dependencies.
I recommend starting with Option 1: Using uv as it is the more modern approach in 2025. If you encounter problems with Option 1, consider Option 2: Using Conda.
In this tutorial, I am using a computer running macOS, but this workflow is similar for Linux machines and may work for other operating systems as well.
Option 1: Using uv
This section guides you through the Python setup and package installation procedure using uv via its uv pip interface. The uv pip interface may feel more familiar to most Python users who have used pip before than the native uv commands.
Note: There are alternative ways to install Python and use
uv. For example, you can install Python directly viauvand useuv addinstead ofuv pip installfor even faster package management.If you are a macOS or Linux user and prefer the native
uvcommands, refer to the ./native-uv.md tutorial. I also recommend checking the officialuvdocumentation.The
uv addsyntax also applies to Windows users. However, I found that some dependencies in thepyproject.tomlcause problems on Windows. So, for Windows users, I recommendpixinstead, which has a similarpixi addworkflow likeuv add. For more information, see the ./native-pixi.md tutorial.While
uv addandpixi addoffer additional speed advantages, I think thatuv pipis slightly more user-friendly, making it a good starting point for beginners. However, if you're new to Python package management, the nativeuvinterface is also a great opportunity to learn it from the start. It's also how I useuvnow, but I realize it the barrier to entry is a bit higher if you are coming frompipandconda.
1. Install Python (if not installed)
If you haven't manually installed Python on your system before, I highly recommend doing so. This helps prevent potential conflicts with your operating system's built-in Python installation, which could lead to issues.
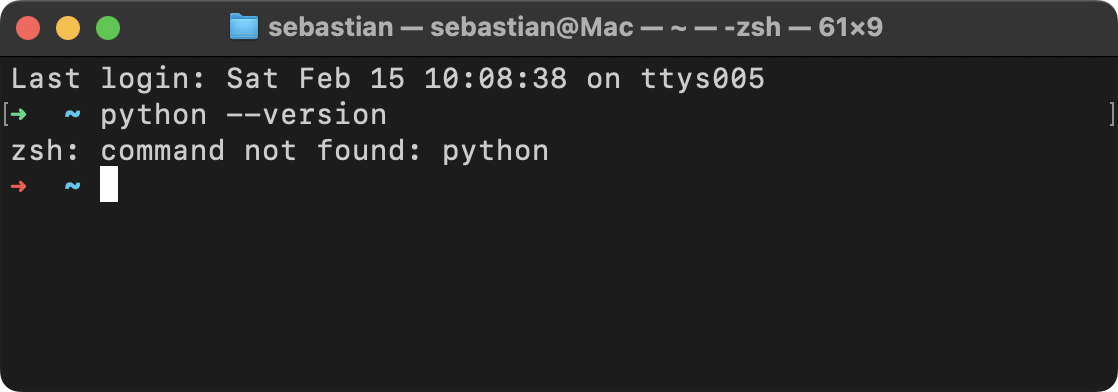
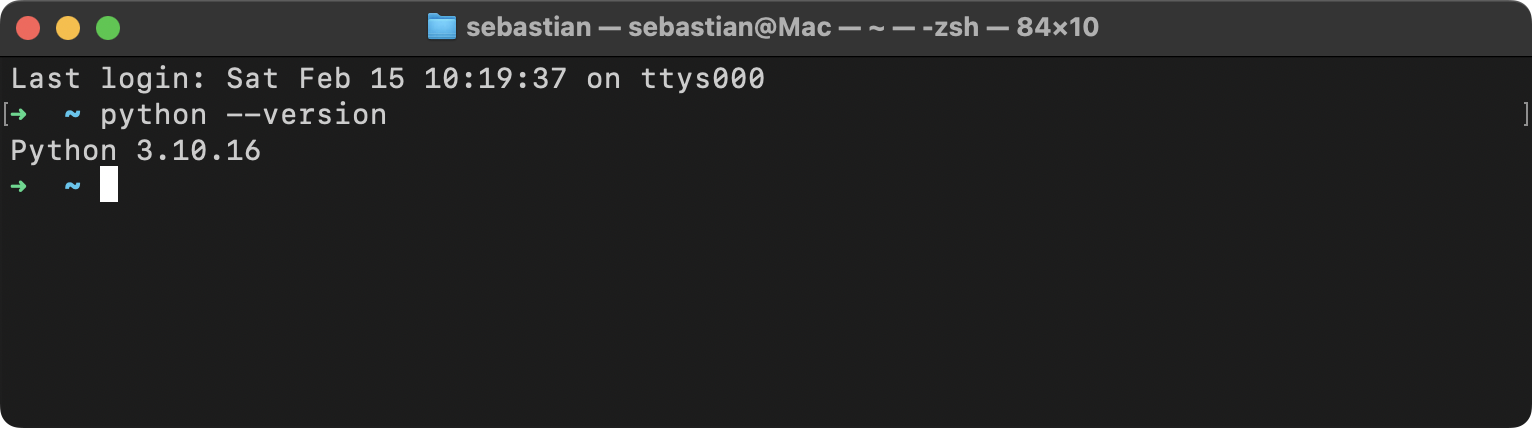
However, even if you have installed Python on your system before, check if you have a modern version of Python installed (I recommend 3.10 or newer) by executing the following code in the terminal:
python --version
If it returns 3.10 or newer, no further action is required.
Note: If
python --versionindicates that no Python version is installed, you may also want to checkpython3 --versionsince your system might be configured to use thepython3command instead.
Note: I recommend installing a Python version that is at least 2 versions older than the most recent release to ensure PyTorch compatibility. For example, if the most recent version is Python 3.13, I recommend installing version 3.10 or 3.11.
Otherwise, if Python is not installed or is an older version, you can install it for your operating system as described below.
Linux (Ubuntu/Debian)
sudo apt update
sudo apt install python3.10 python3.10-venv python3.10-dev
macOS
If you use Homebrew, install Python with:
brew install python@3.10
Alternatively, download and run the installer from the official website: https://www.python.org/downloads/.
Windows
Download and run the installer from the official website: https://www.python.org/downloads/.
2. Create a virtual environment
I highly recommend installing Python packages in a separate virtual environment to avoid modifying system-wide packages that your OS may depend on. To create a virtual environment in the current folder, follow the three steps below.
1. Install uv
pip install uv
2. Create the virtual environment
uv venv --python=python3.10
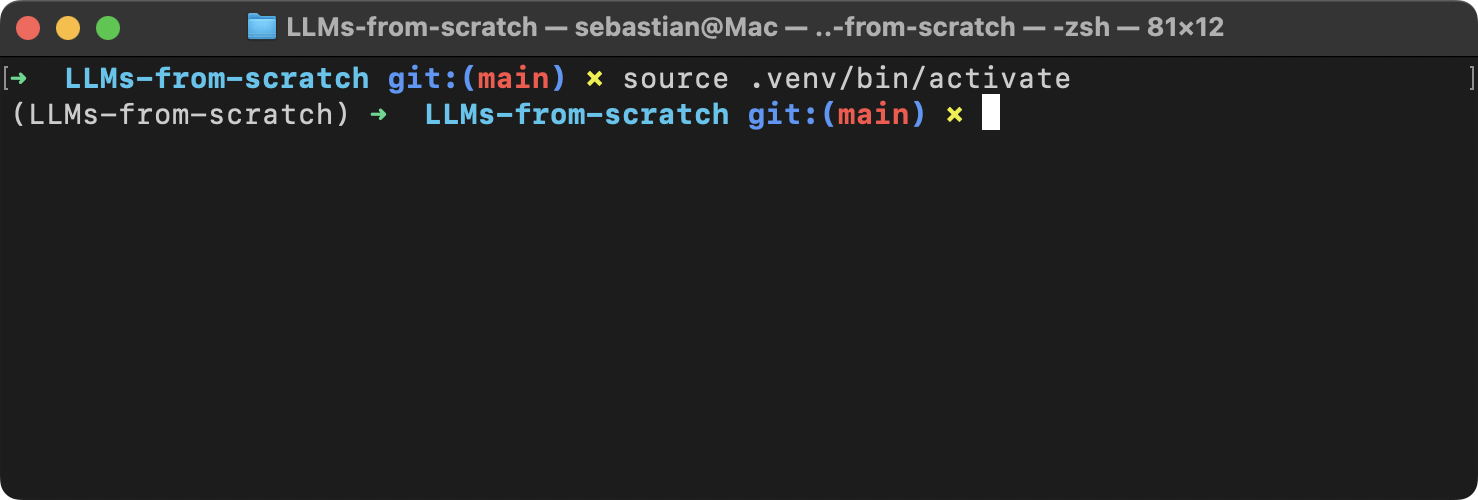
3. Activate the virtual environment
source .venv/bin/activate
Note: If you are using Windows, you may have to replace the command above by
source .venv/Scripts/activateor.venv/Scripts/activate.
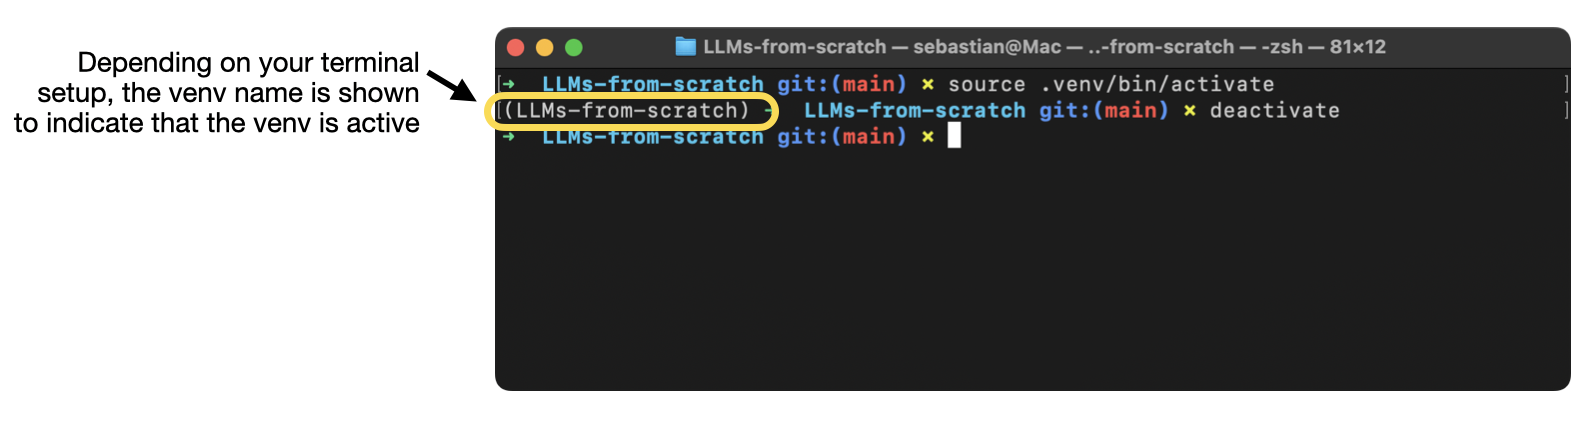
Note that you need to activate the virtual environment each time you start a new terminal session. For example, if you restart your terminal or computer and want to continue working on the project the next day, simply run source .venv/bin/activate in the project folder to reactivate your virtual environment.
Optionally, you can deactivate the environment it by executing the command deactivate.
3. Install packages
After activating your virtual environment, you can install Python packages using uv. For example:
uv pip install packaging
To install all required packages from a requirements.txt file (such as the one located at the top level of this GitHub repository) run the following command, assuming the file is in the same directory as your terminal session:
uv pip install -r requirements.txt
Alternatively, install the latest dependencies directly from the repository:
uv pip install -r https://raw.githubusercontent.com/rasbt/LLMs-from-scratch/refs/heads/main/requirements.txt
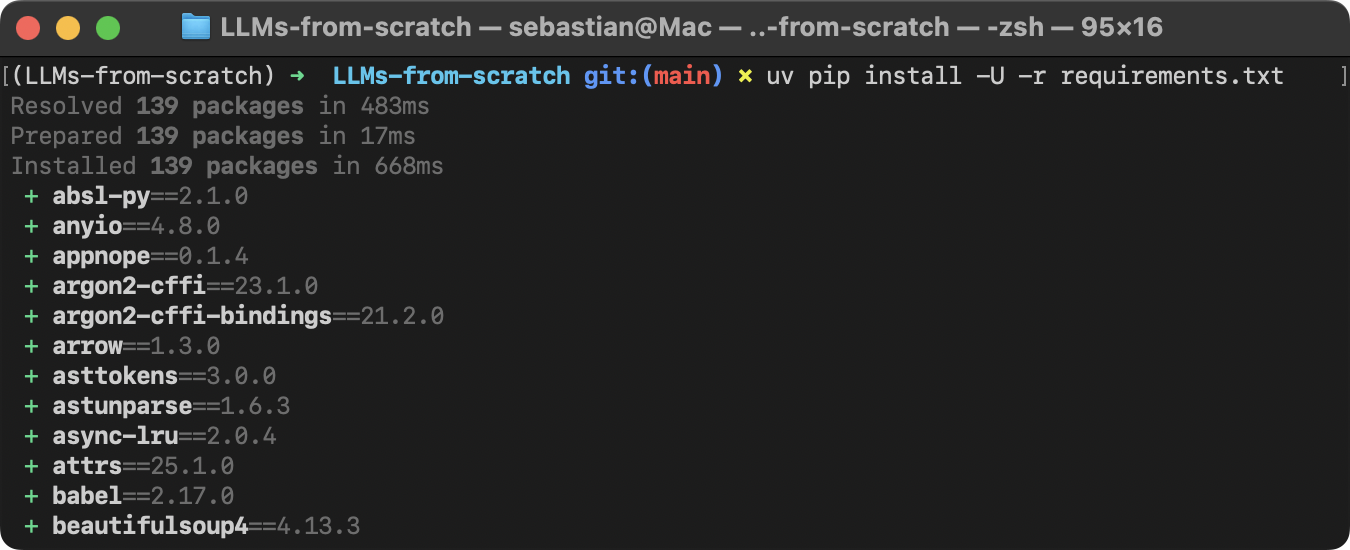
Note: If you have problems with the following commands above due to certain dependencies (for example, if you are using Windows), you can always fall back to using regular pip:
pip install -r requirements.txtorpip install -U -r https://raw.githubusercontent.com/rasbt/LLMs-from-scratch/refs/heads/main/requirements.txt
Finalizing the setup
That’s it! Your environment should now be ready for running the code in the repository.
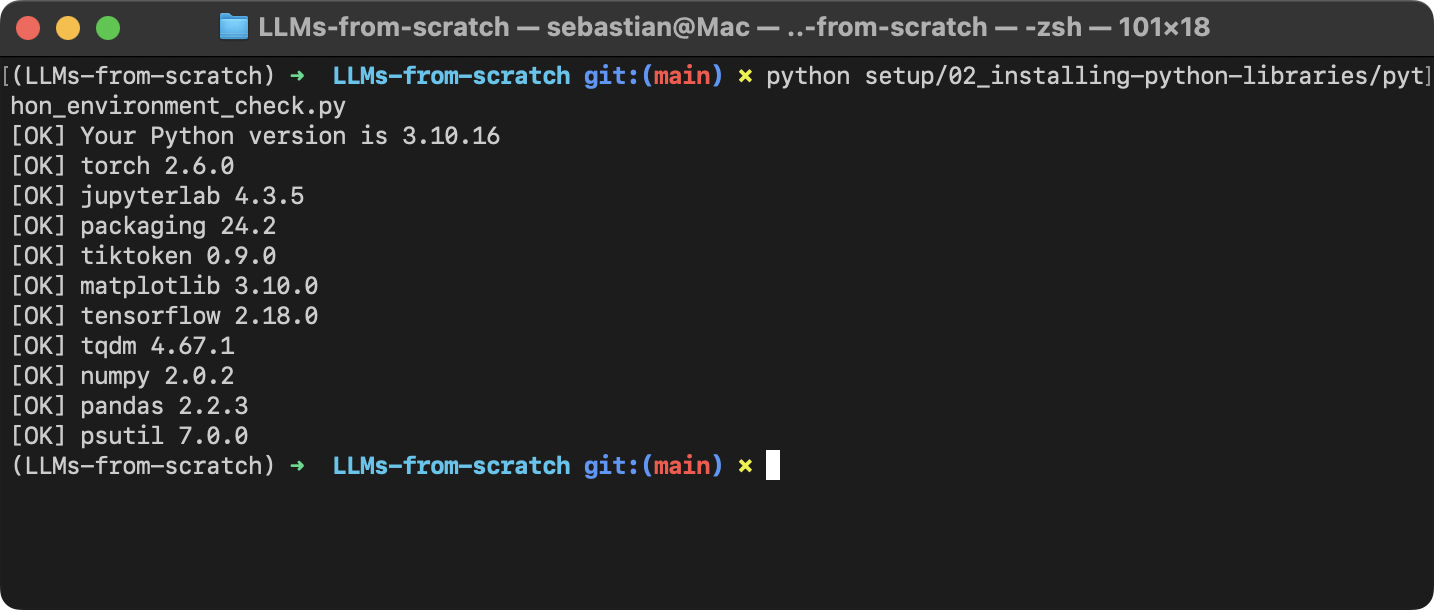
Optionally, you can run an environment check by executing the python_environment_check.py script in this repostiory:
python setup/02_installing-python-libraries/python_environment_check.py
If you encounter any issues with specific packages, try reinstalling them using:
uv pip install packagename
(Here, packagename is a placeholder name that needs to be replaced with the package name you are having problems with.)
If problems persist, consider opening a discussion on GitHub or working through the Option 2: Using Conda section below.
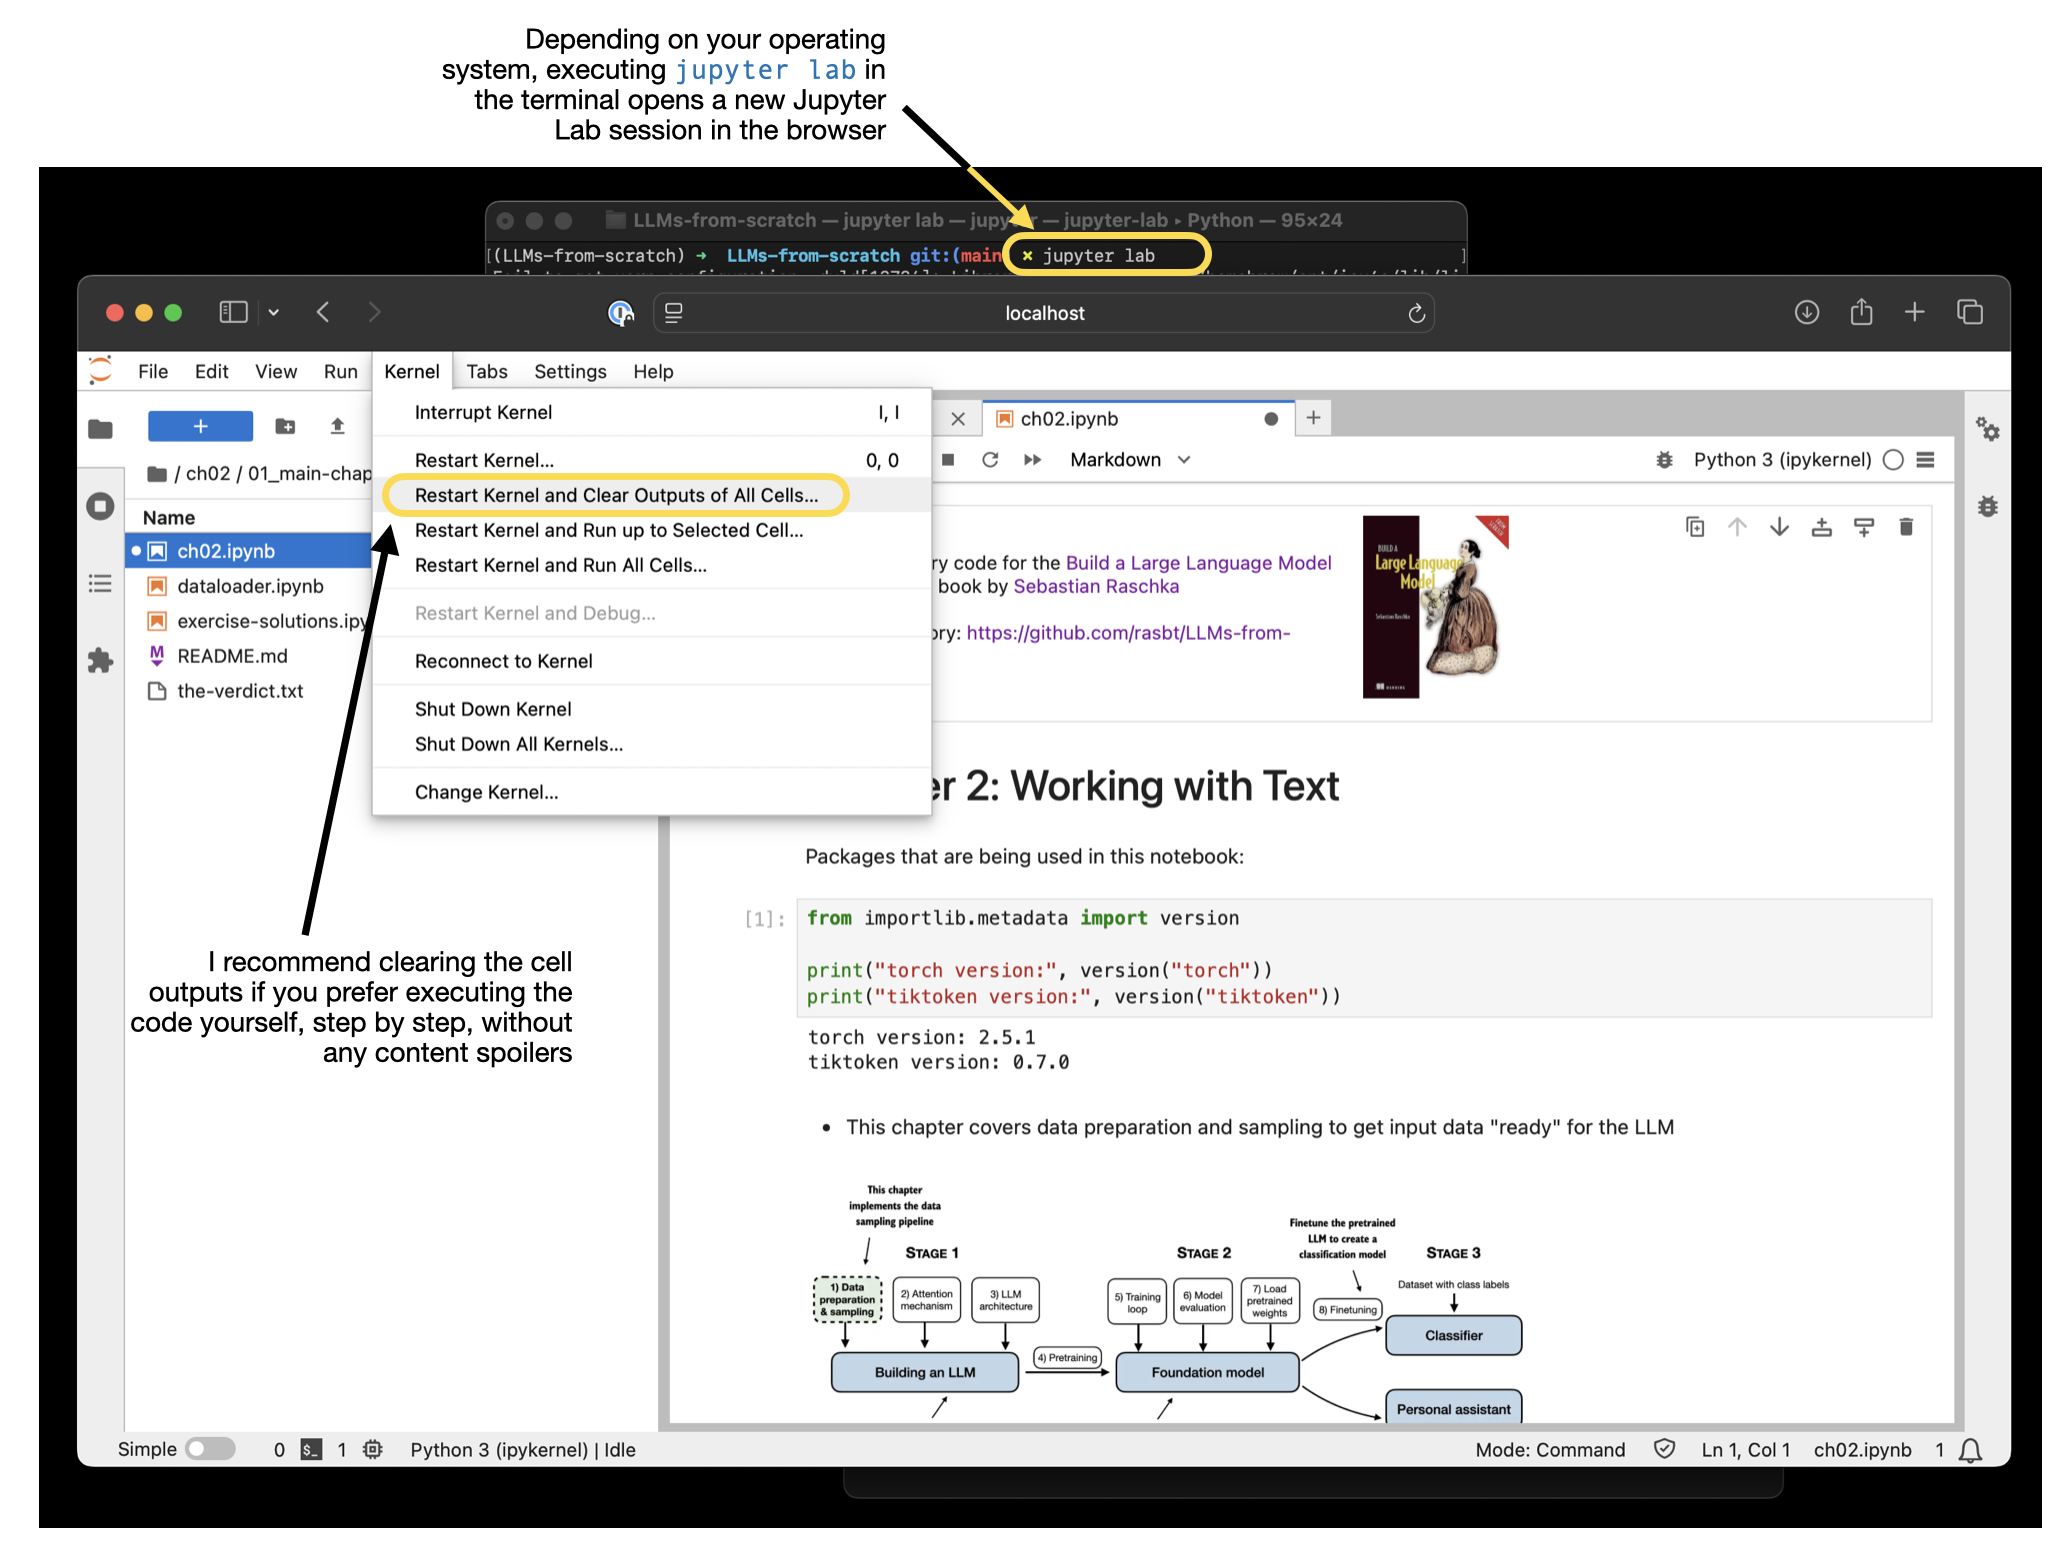
Start working with the code
Once everything is set up, you can start working with the code files. For instance, launch JupyterLab by running:
jupyter lab
Note: If you encounter problems with the jupyter lab command, you can also start it using the full path inside your virtual environment. For example, use
.venv/bin/jupyter labon Linux/macOS or.venv\Scripts\jupyter-labon Windows.
Option 2: Using Conda
This section guides you through the Python setup and package installation procedure using conda via miniforge.
In this tutorial, I am using a computer running macOS, but this workflow is similar for Linux machines and may work for other operating systems as well.
1. Download and install Miniforge
Download miniforge from the GitHub repository here.
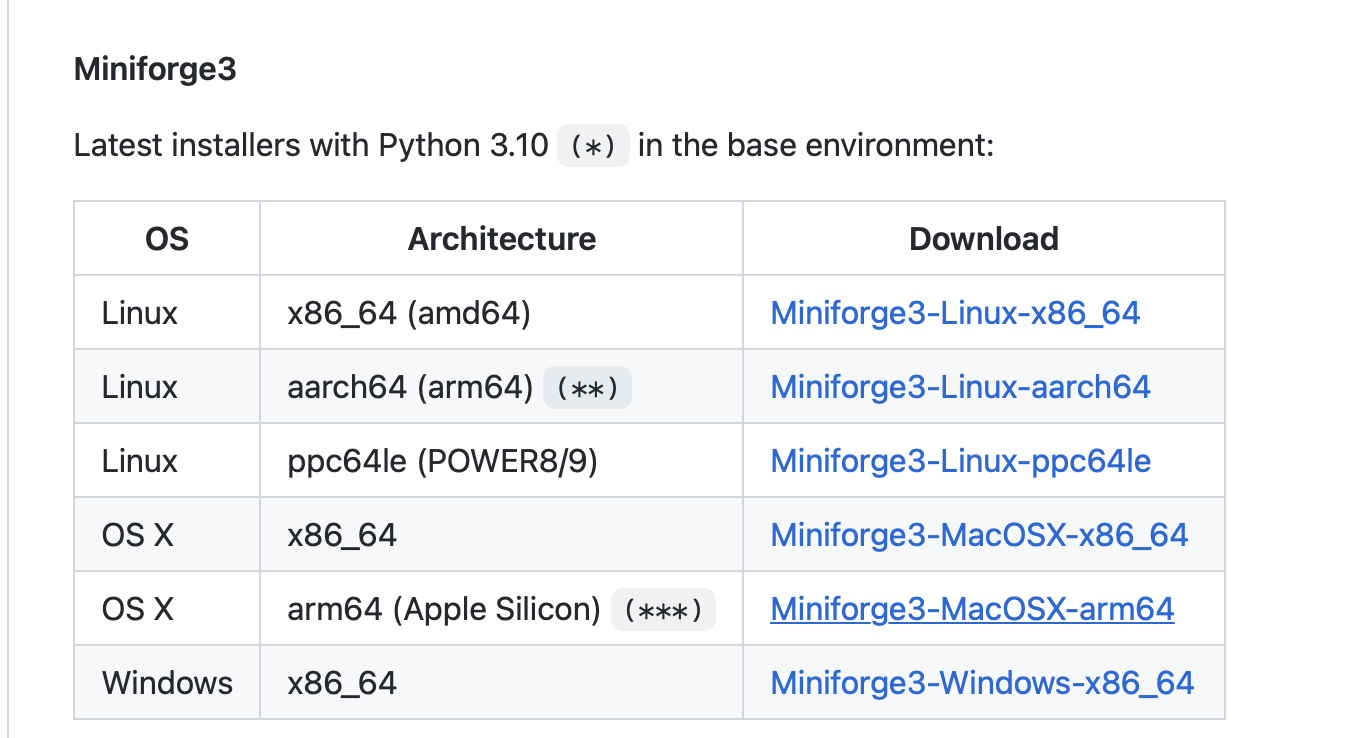
Depending on your operating system, this should download either an .sh (macOS, Linux) or .exe file (Windows).
For the .sh file, open your command line terminal and execute the following command
sh ~/Desktop/Miniforge3-MacOSX-arm64.sh
where Desktop/ is the folder where the Miniforge installer was downloaded to. On your computer, you may have to replace it with Downloads/.
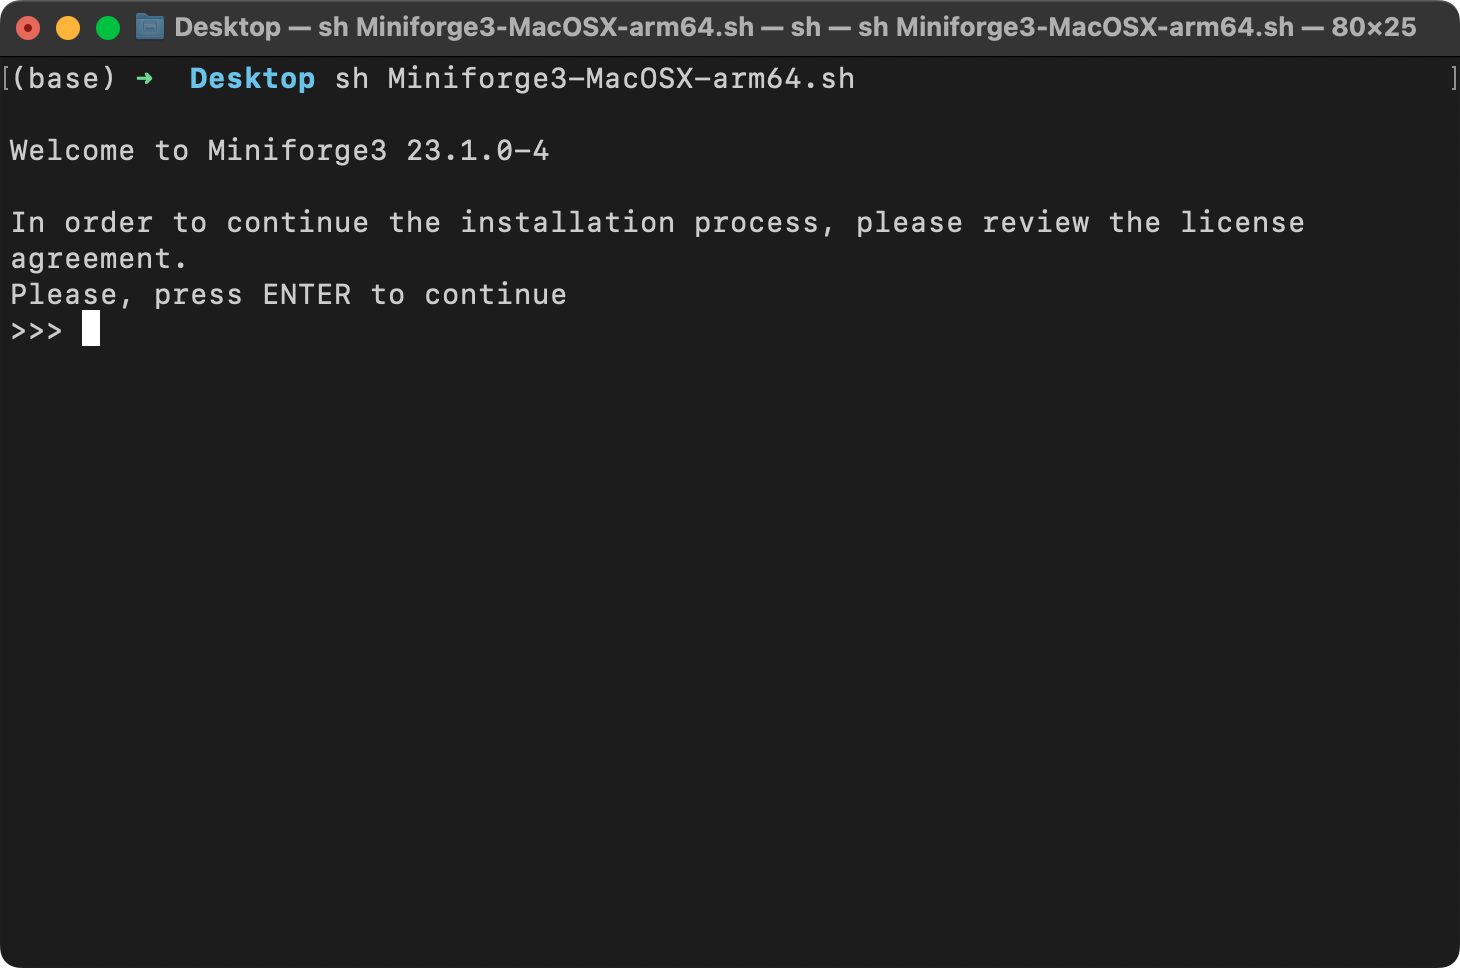
Next, step through the download instructions, confirming with "Enter".
2. Create a new virtual environment
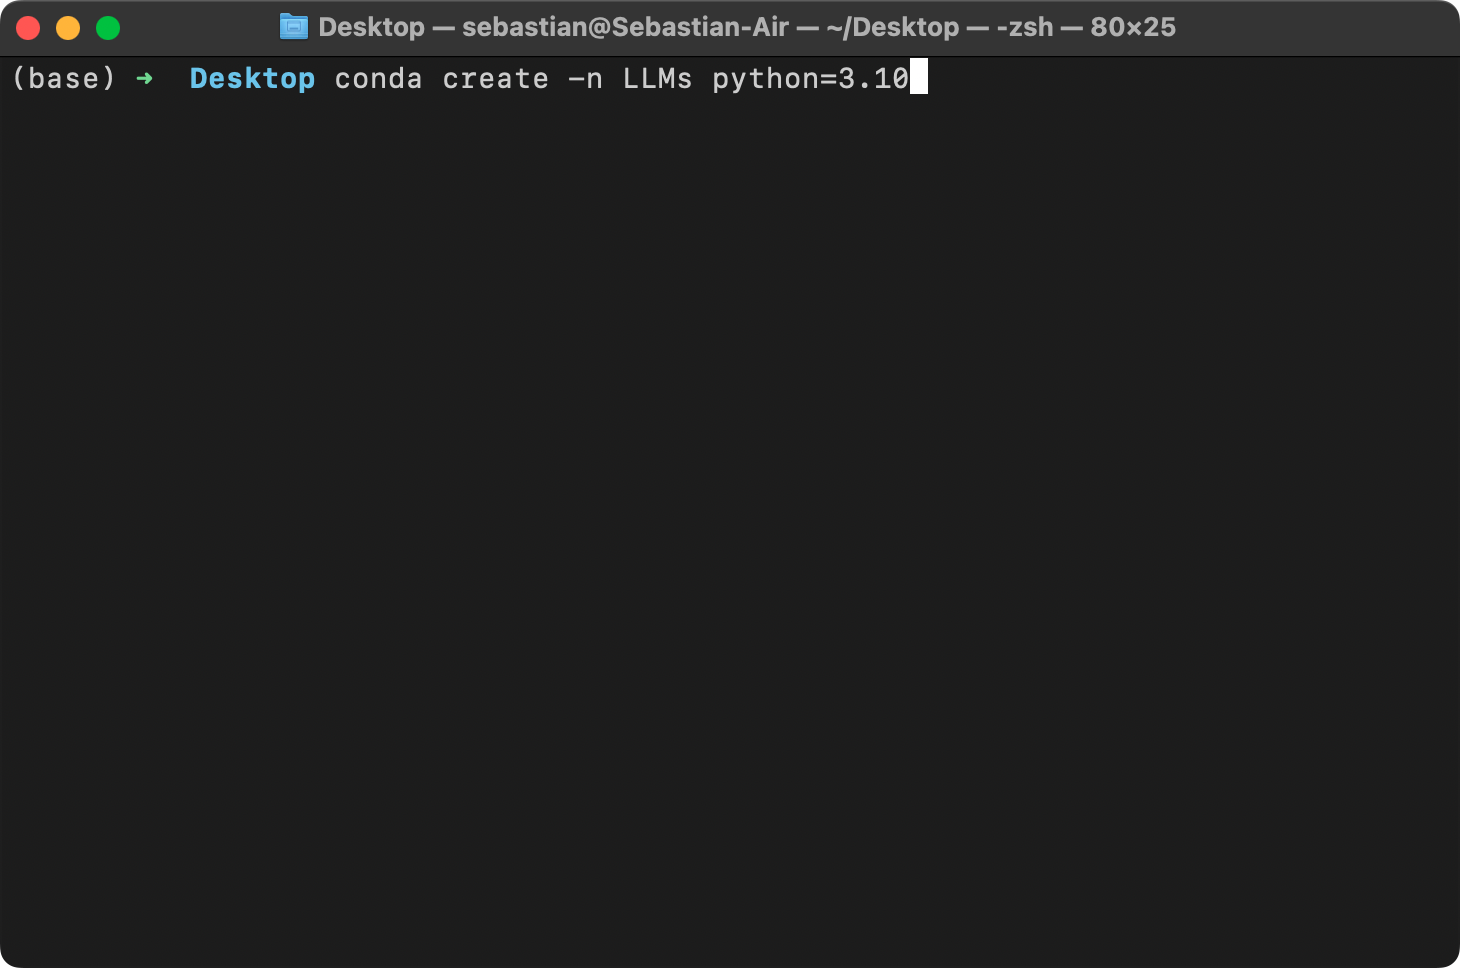
After the installation was successfully completed, I recommend creating a new virtual environment called LLMs, which you can do by executing
conda create -n LLMs python=3.10
Many scientific computing libraries do not immediately support the newest version of Python. Therefore, when installing PyTorch, it's advisable to use a version of Python that is one or two releases older. For instance, if the latest version of Python is 3.13, using Python 3.10 or 3.11 is recommended.
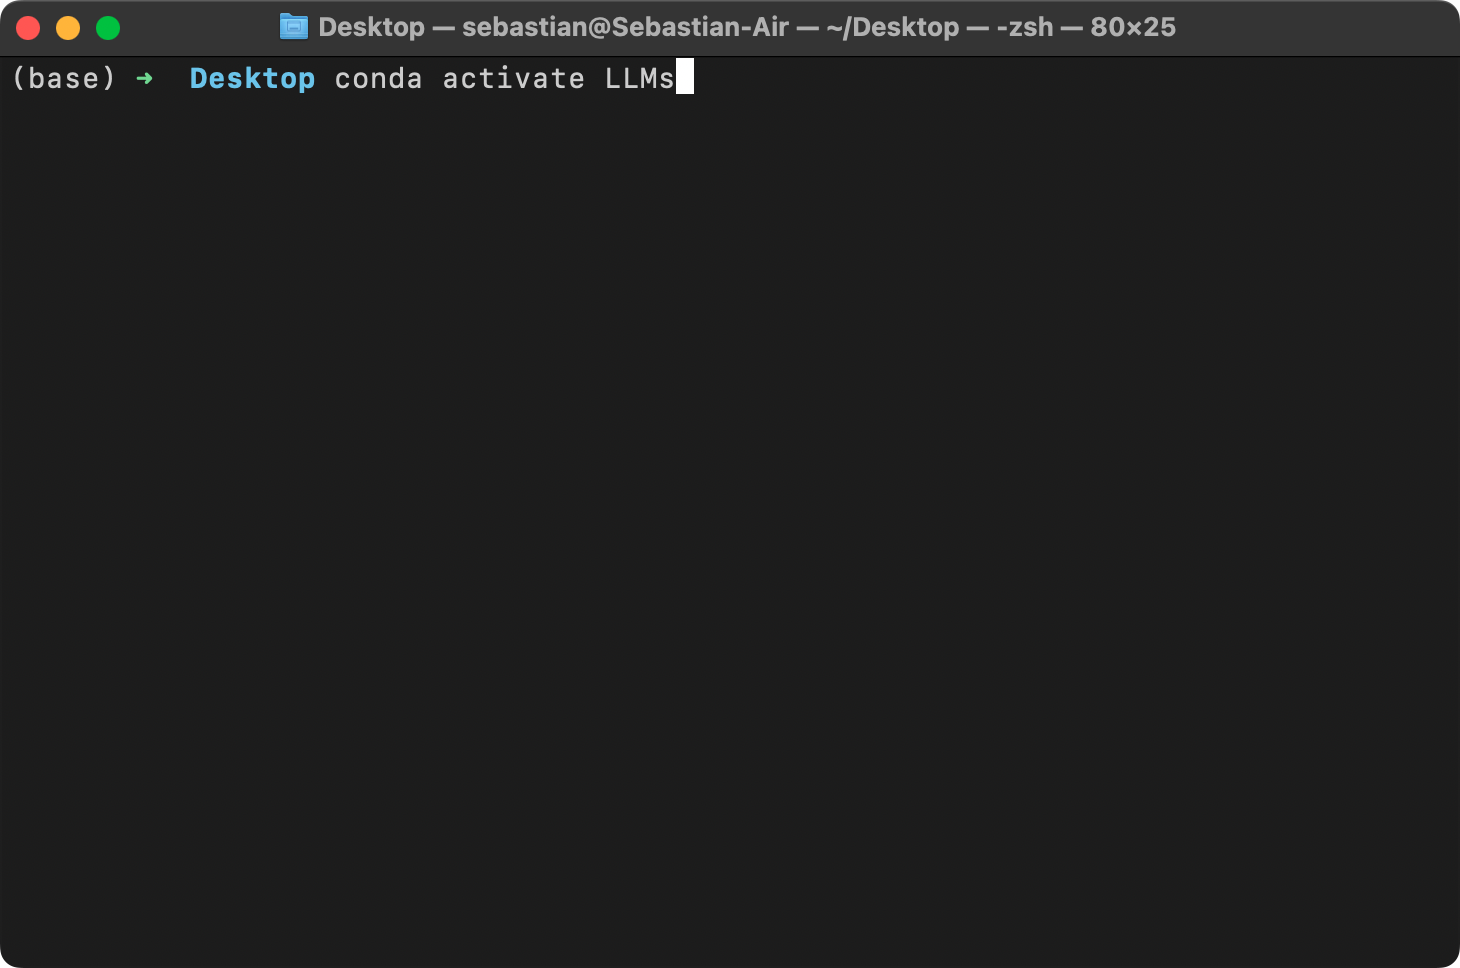
Next, activate your new virtual environment (you have to do it every time you open a new terminal window or tab):
conda activate LLMs
Optional: styling your terminal
If you want to style your terminal similar to mine so that you can see which virtual environment is active, check out the Oh My Zsh project.
3. Install new Python libraries
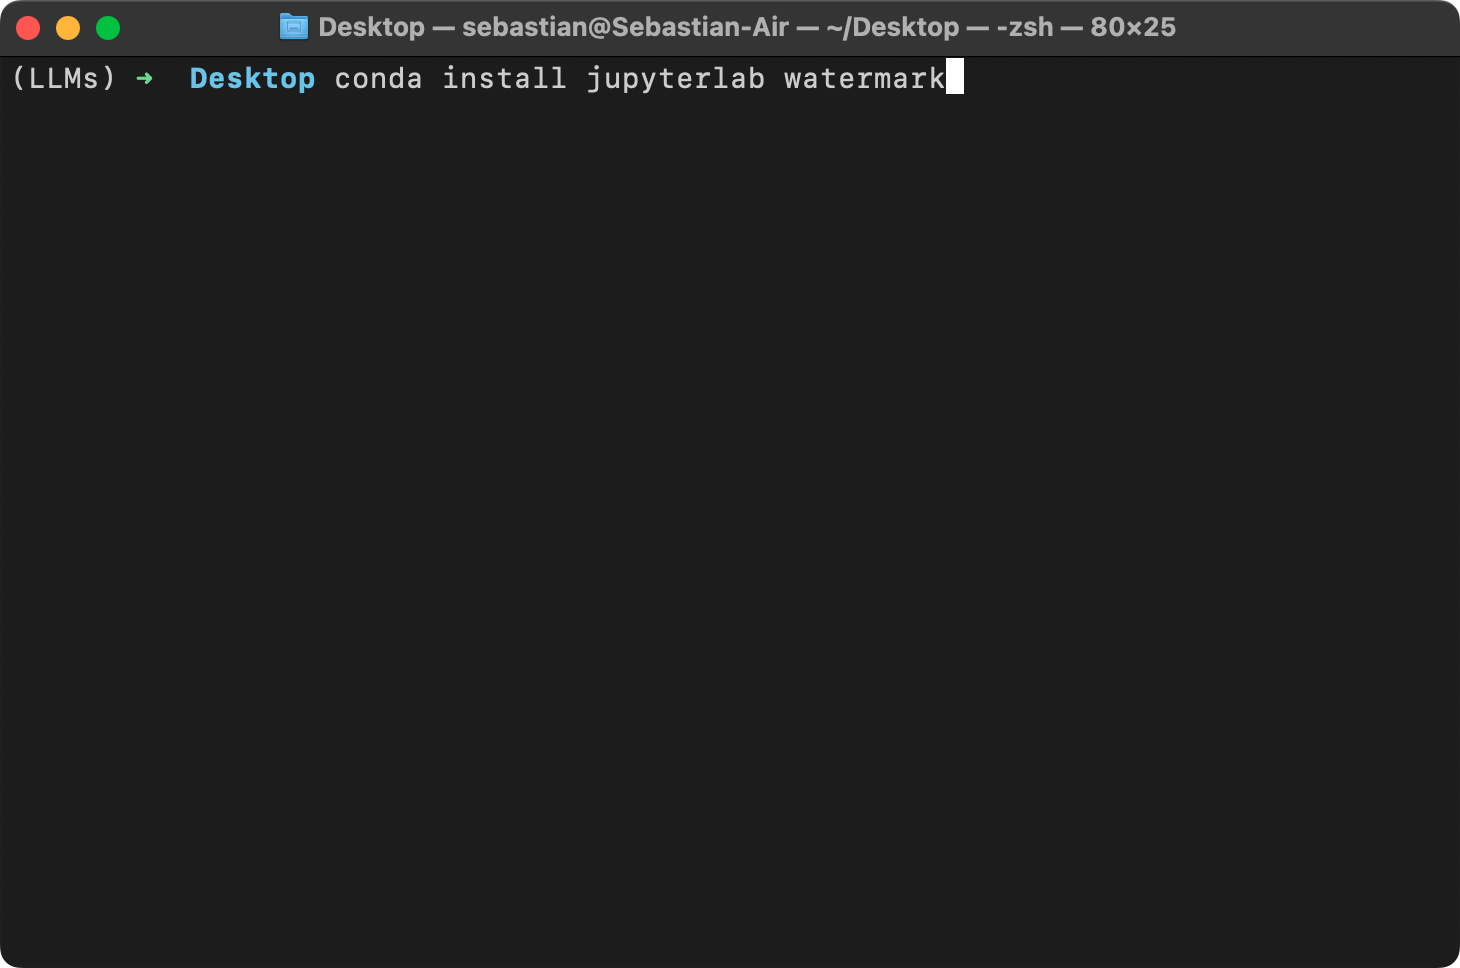
To install new Python libraries, you can now use the conda package installer. For example, you can install JupyterLab and watermark as follows:
conda install jupyterlab watermark
You can also still use pip to install libraries. By default, pip should be linked to your new LLms conda environment:
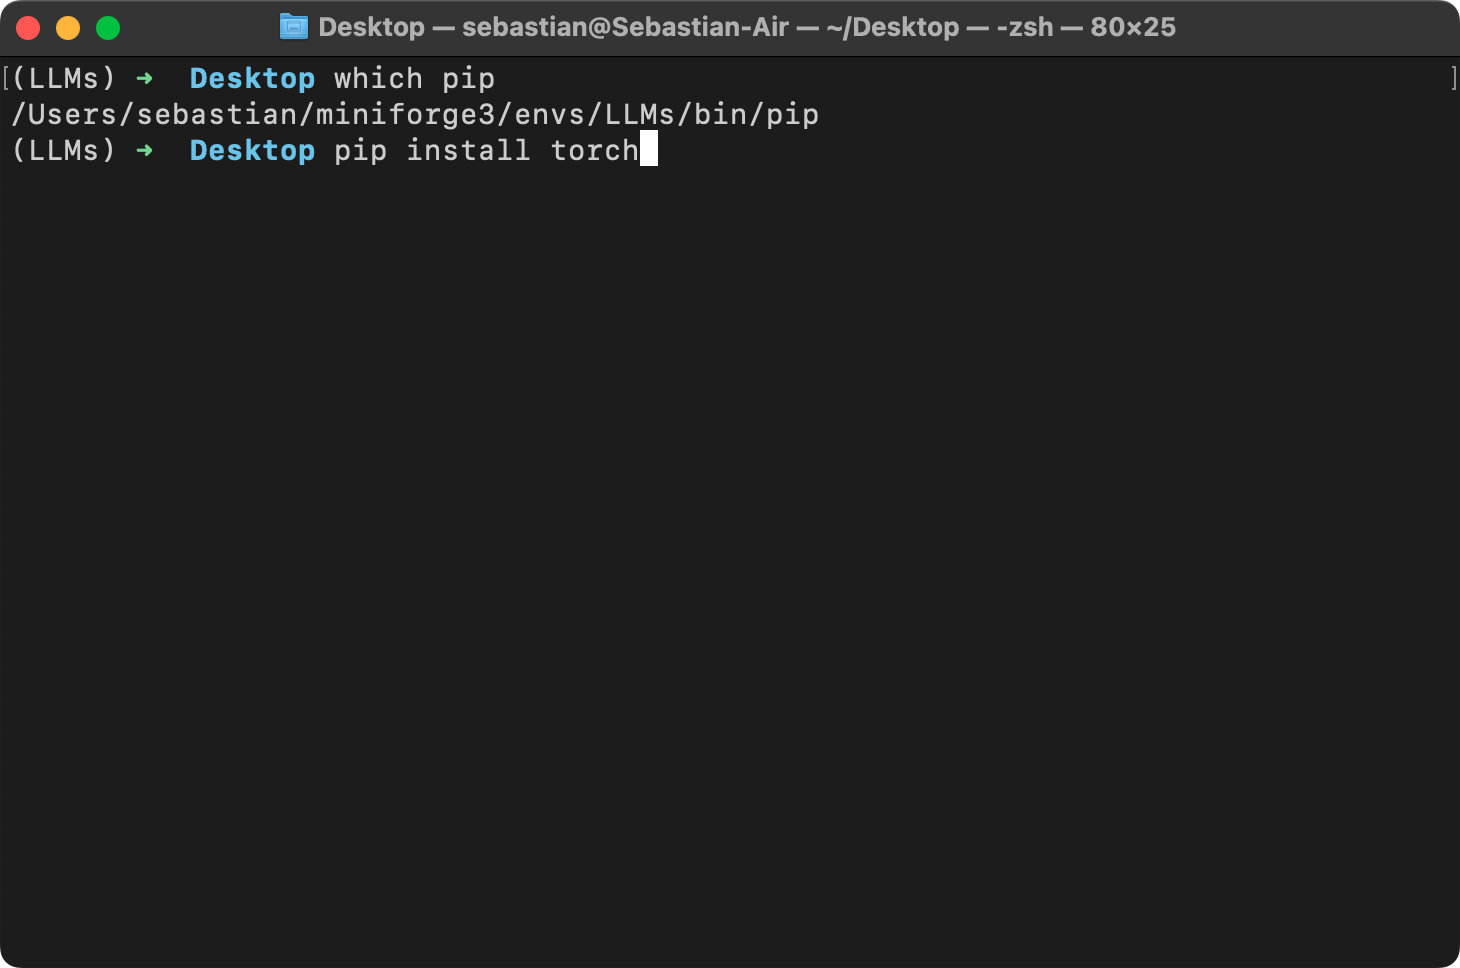
4. Install PyTorch
PyTorch can be installed just like any other Python library or package using pip. For example:
pip install torch
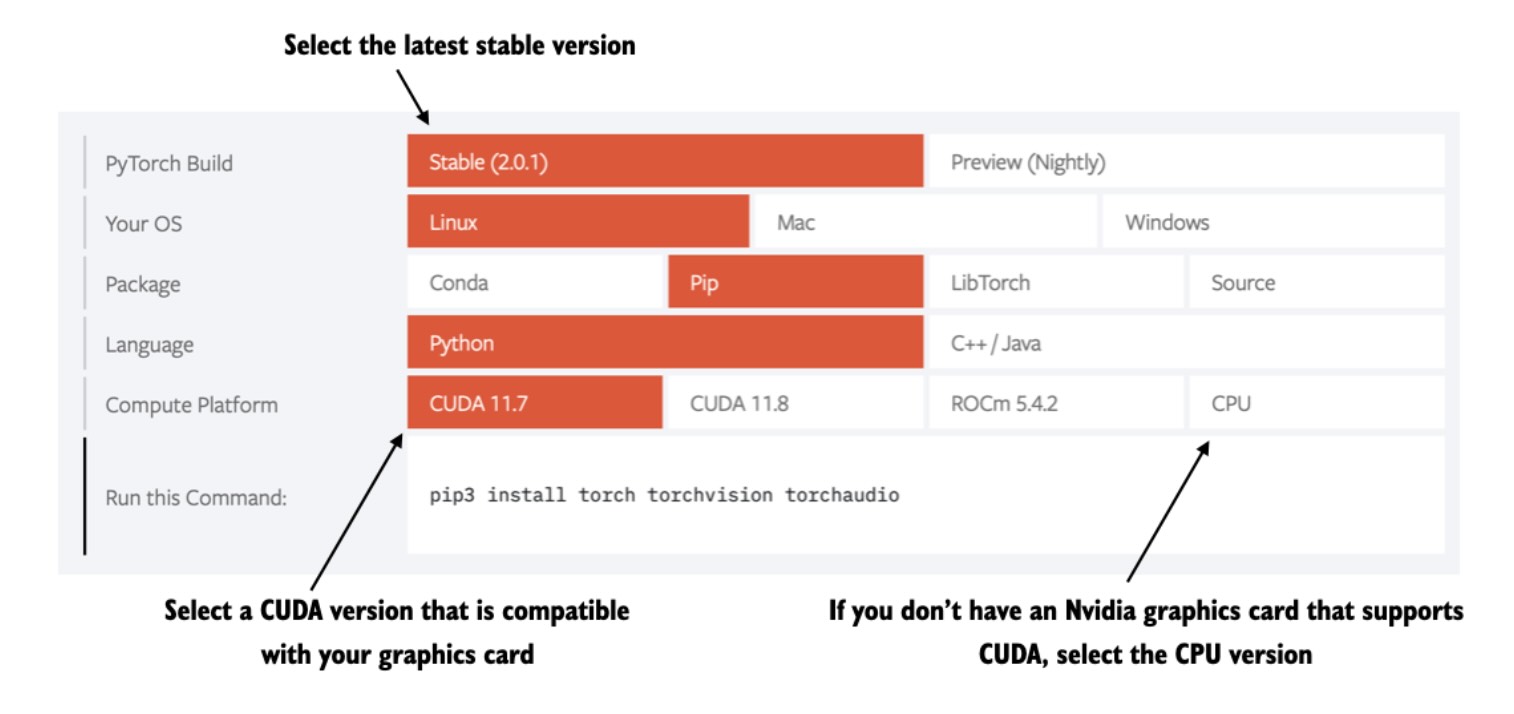
However, since PyTorch is a comprehensive library featuring CPU- and GPU-compatible codes, the installation may require additional settings and explanation (see the A.1.3 Installing PyTorch in the book for more information).
It's also highly recommended to consult the installation guide menu on the official PyTorch website at https://pytorch.org.
5. Installing Python packages and libraries used in this book
Please refer to the Installing Python packages and libraries used in this book document for instructions on how to install the required libraries.
Any questions? Please feel free to reach out in the Discussion Forum.