* Fixes #10480 Glossary rename results in rename of Classification with the same name

* Rename TagSource Tag to Classification
OpenMetadata UI
This guide will help you run OpenMetadata UI locally in dev mode.
Pre-requisites
Before proceeding, ensure that you have installed the node and yarn with the versions given below.
"node": ">=10.0.0",
"yarn": "^1.22.0"
Install ANTLR using our recipes via
sudo make install_antlr_cli
Using the command below, spin up the server locally from the directory openmetadata-dist/target/openmetadata-*-SNAPSHOT
./bin/openmetadata-server-start.sh conf/openmetadata.yaml
If you don't have distributions generated or don't see
targetdirectory inside theopenmetadata-distthen follow this guide to create a distribution.Since typescript is heavily used in the OpenMetadata project, we generate the typescript types and the interface from JSON schema. We use the
QuickTypetool to generate the typescript types and interfaces. You can view the complete instructions here.
Steps to Run OpenMetadata UI
Once the node and yarn are installed in the system, you can perform the following steps to run OpenMetadata UI.
Step 1: Run the given command to install the required dependencies.
Note: It’s a one-time task to install dependencies. If there are any changes in the package.json file, the following steps will have to be performed again.
# installing dependencies
> make yarn_install_cache
Step 2: Start the UI locally
# starting the UI locally
> make yarn_start_dev_ui
Step 3: Visit localhost:3000 to access the OpenMetadata UI.
How to Add Language Support
To add support for a new language in our internationalization setup using react-i18next and i18next, please follow the steps below:
Create a Language JSON File
First, create a new JSON file for the language you want to add in the openmetadata-ui/src/main/resources/ui/src/locale/languages directory.
For example, if you want to add support for the French language, you can create a file called fr-fr.json in the languages directory:
# Navigate to the ui/src/locale/languages directory
cd openmetadata-ui/src/main/resources/ui/src/locale/languages

# Create the French language file
touch fr-fr.json
Sync the Language File with the Primary Language
Since we use en-us as our primary language, if you have added a new language file, you need to sync the newly added language file with the primary language. You can use the i18n script to achieve this.
yarn run i18n
Update the i18nextUtil.ts
Now add the newly added language in i18nextUtil.ts , so that i18next can have the translation resource available.
import { InitOptions } from 'i18next';
import { map } from 'lodash';
import enUS from '../../locale/languages/en-us.json';
+ import frFR from '../../locale/languages/fr-fr.json';

export const getInitOptions = (): InitOptions => {
  return {
+   supportedLngs: ['en-US', 'fr-FR'],
    resources: {
      'en-US': { translation: enUS },
+     'fr-FR': { translation: frFR },
    },
    fallbackLng: ['en-US'],
Test the language translation
To check the language translation functionality, please follow the steps outlined below:
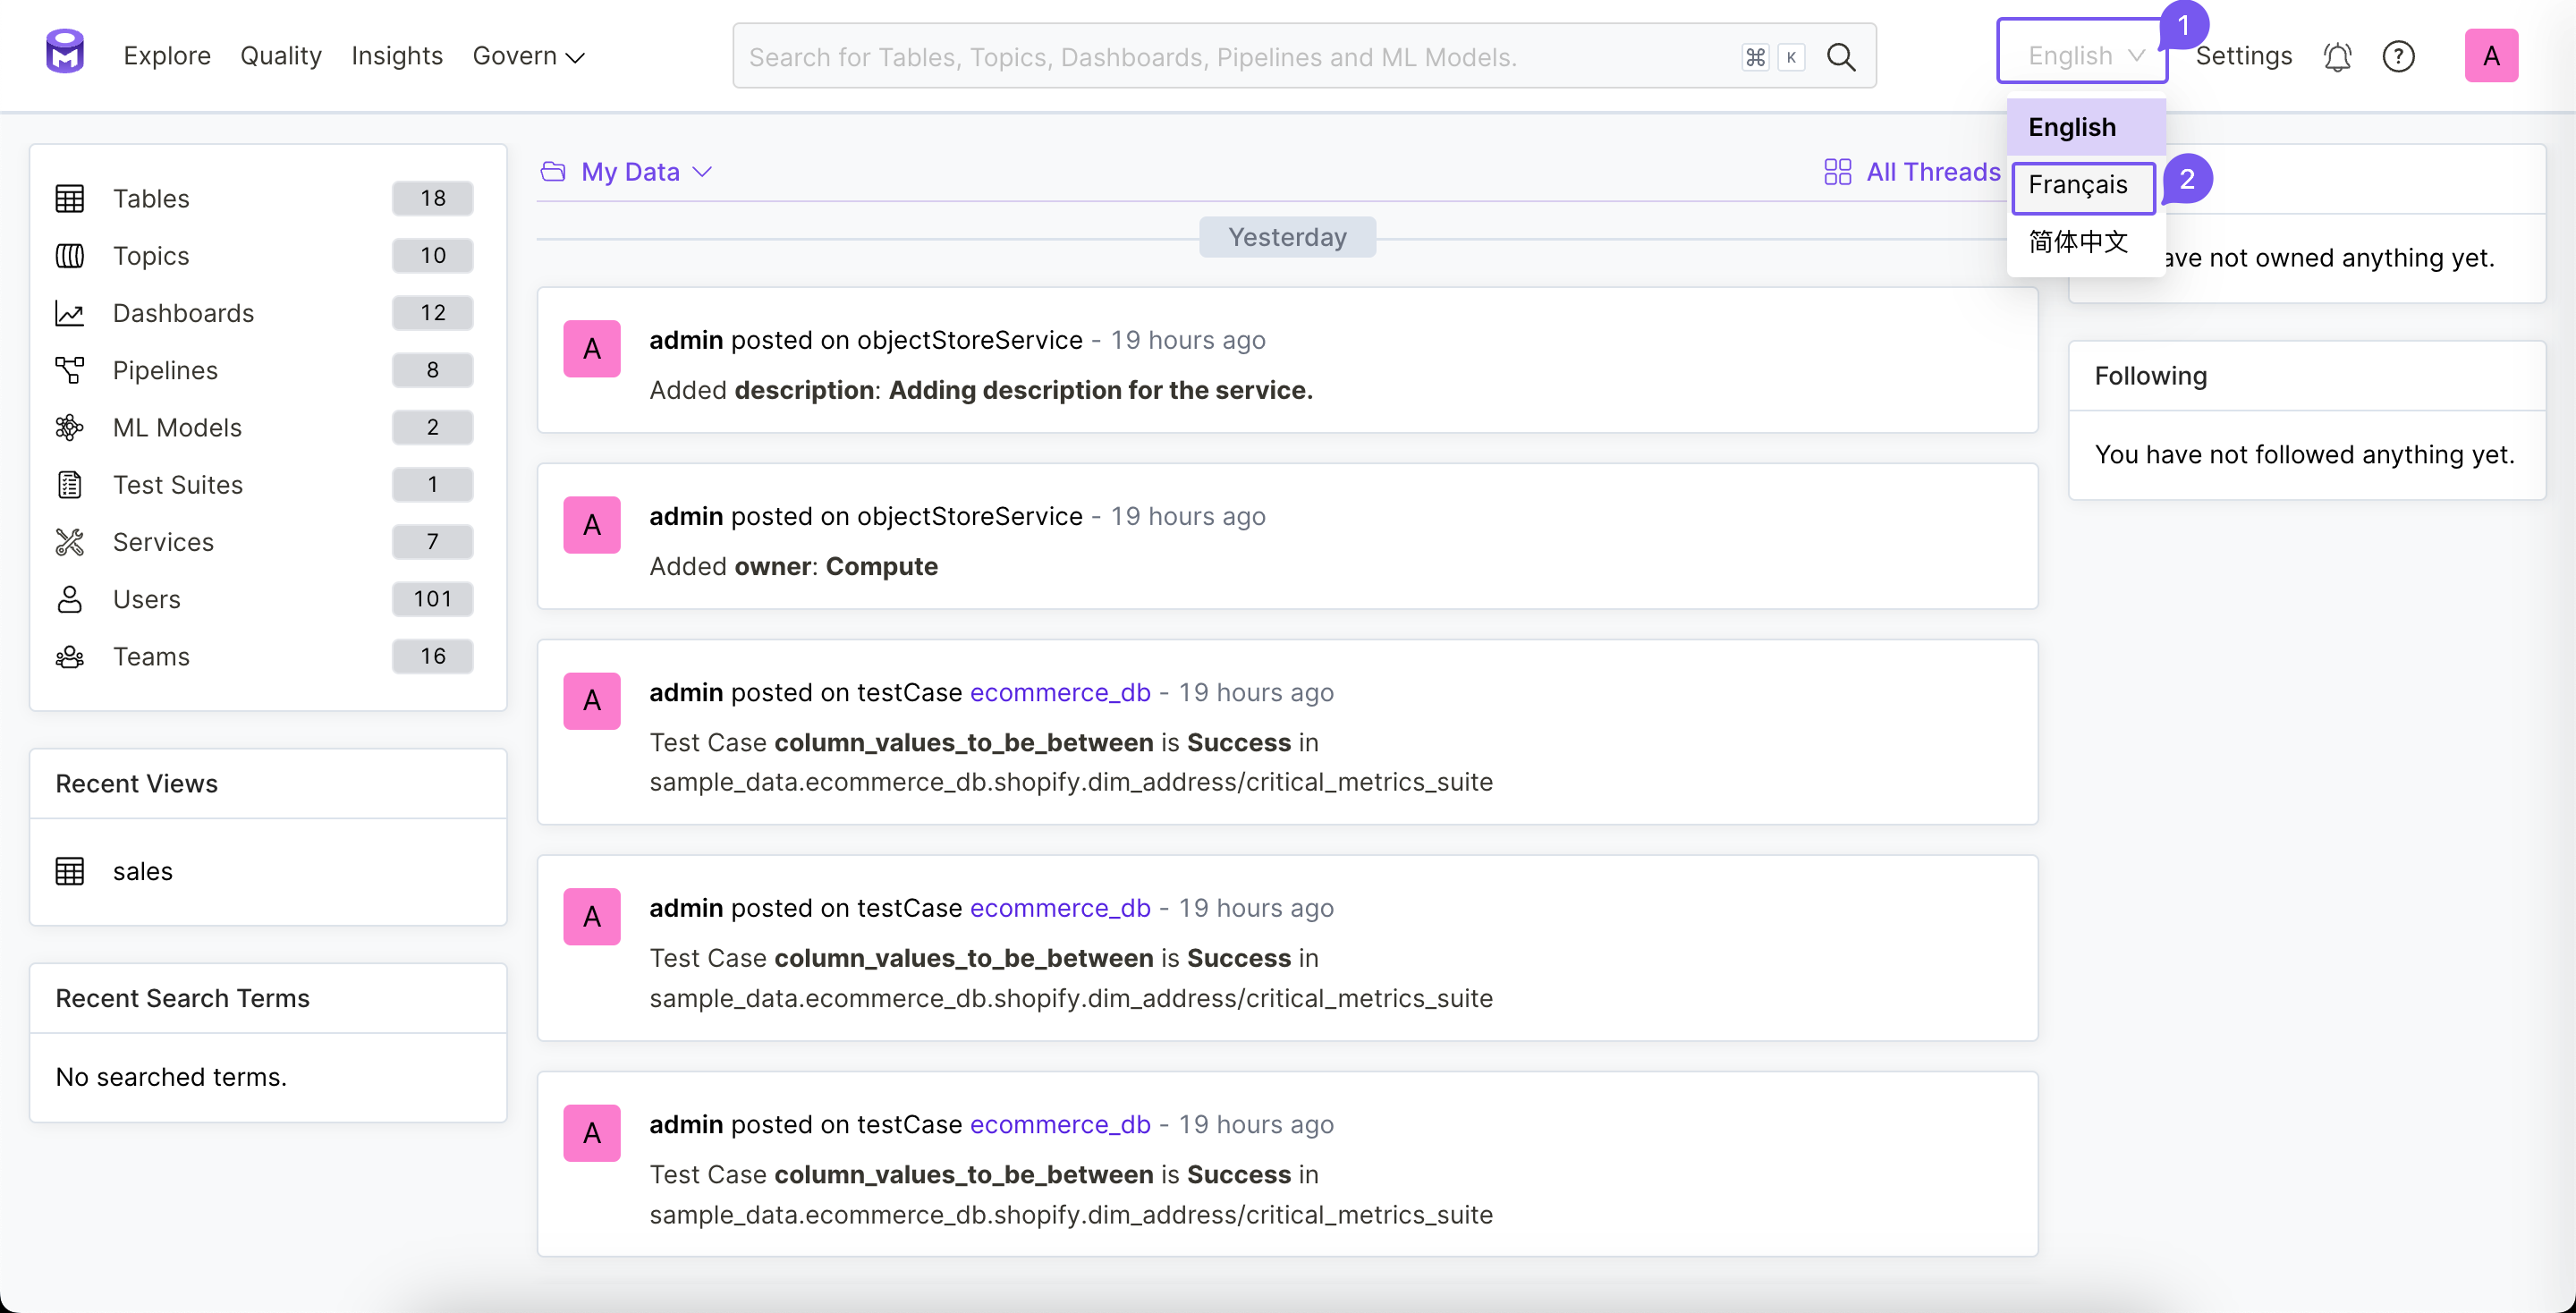
- Click on the language selection dropdown, and a list of available languages will appear.
- Choose the language you wish to test, and the translation will be applied.
Please refer to the image below for assistance: