---
title: "SCIM Integration: MS Entra and DataHub"
hide_title: true
---
import FeatureAvailability from '@site/src/components/FeatureAvailability';
## SCIM Integration: MS Entra and DataHub
## Overview
On completion of this setup the MS Entra will automatically manage the groups/users/roles from MS Entra to DataHub.
Consider following configuration in MS Entra
- A group `governance-team` group
- And it has two memeber `john` and `sid`
- And the group has role `Reader`
If you configure the `governance-team` for auto provisioning, MS Entra will creates the `governance-team` group and it's member automatically on DataHub and set the `Reader` roles on users.
If you remove `john` from group `governance-team` then MS Entra will automatically removes the `john` from DataHub's `governance-team` group.
If you permanently deletes a user or group from MS Entra then MS Entra will automatically deletes the user or group from the DataHub.
> MS Entra doesn't send the user's password on user creation and hence DataHub Admin need to reset their password to be able to login into the DataHub.
> Only Admin, Editor and Reader roles are supported in DataHub. These roles are preconfigured/created on DataHub
## Configuring User/Group/Roles provisioning from MS Entra to DataHub
1. **Generate Personal Access Token**:
Generate a personal access token from [DataHub](../../docs/authentication/personal-access-tokens.md#creating-personal-access-tokens).
2. **Integrate DataHub With MS Entra**: Follow steps [Integrate your SCIM endpoint with the Microsoft Entra provisioning service](https://learn.microsoft.com/en-gb/entra/identity/app-provisioning/use-scim-to-provision-users-and-groups#integrate-your-scim-endpoint-with-the-microsoft-entra-provisioning-service) to integrate DataHub SCIM endpoint into MS Entra.
a. Set the `Tenant URL` to `https:///gms/openapi/scim/v2`. Replace `` with your DataHub instance hostname.
b. Set the `Secret Token` to Personal Access Token created in Step 1.
3. **Update Attribute Mapping For Role**:
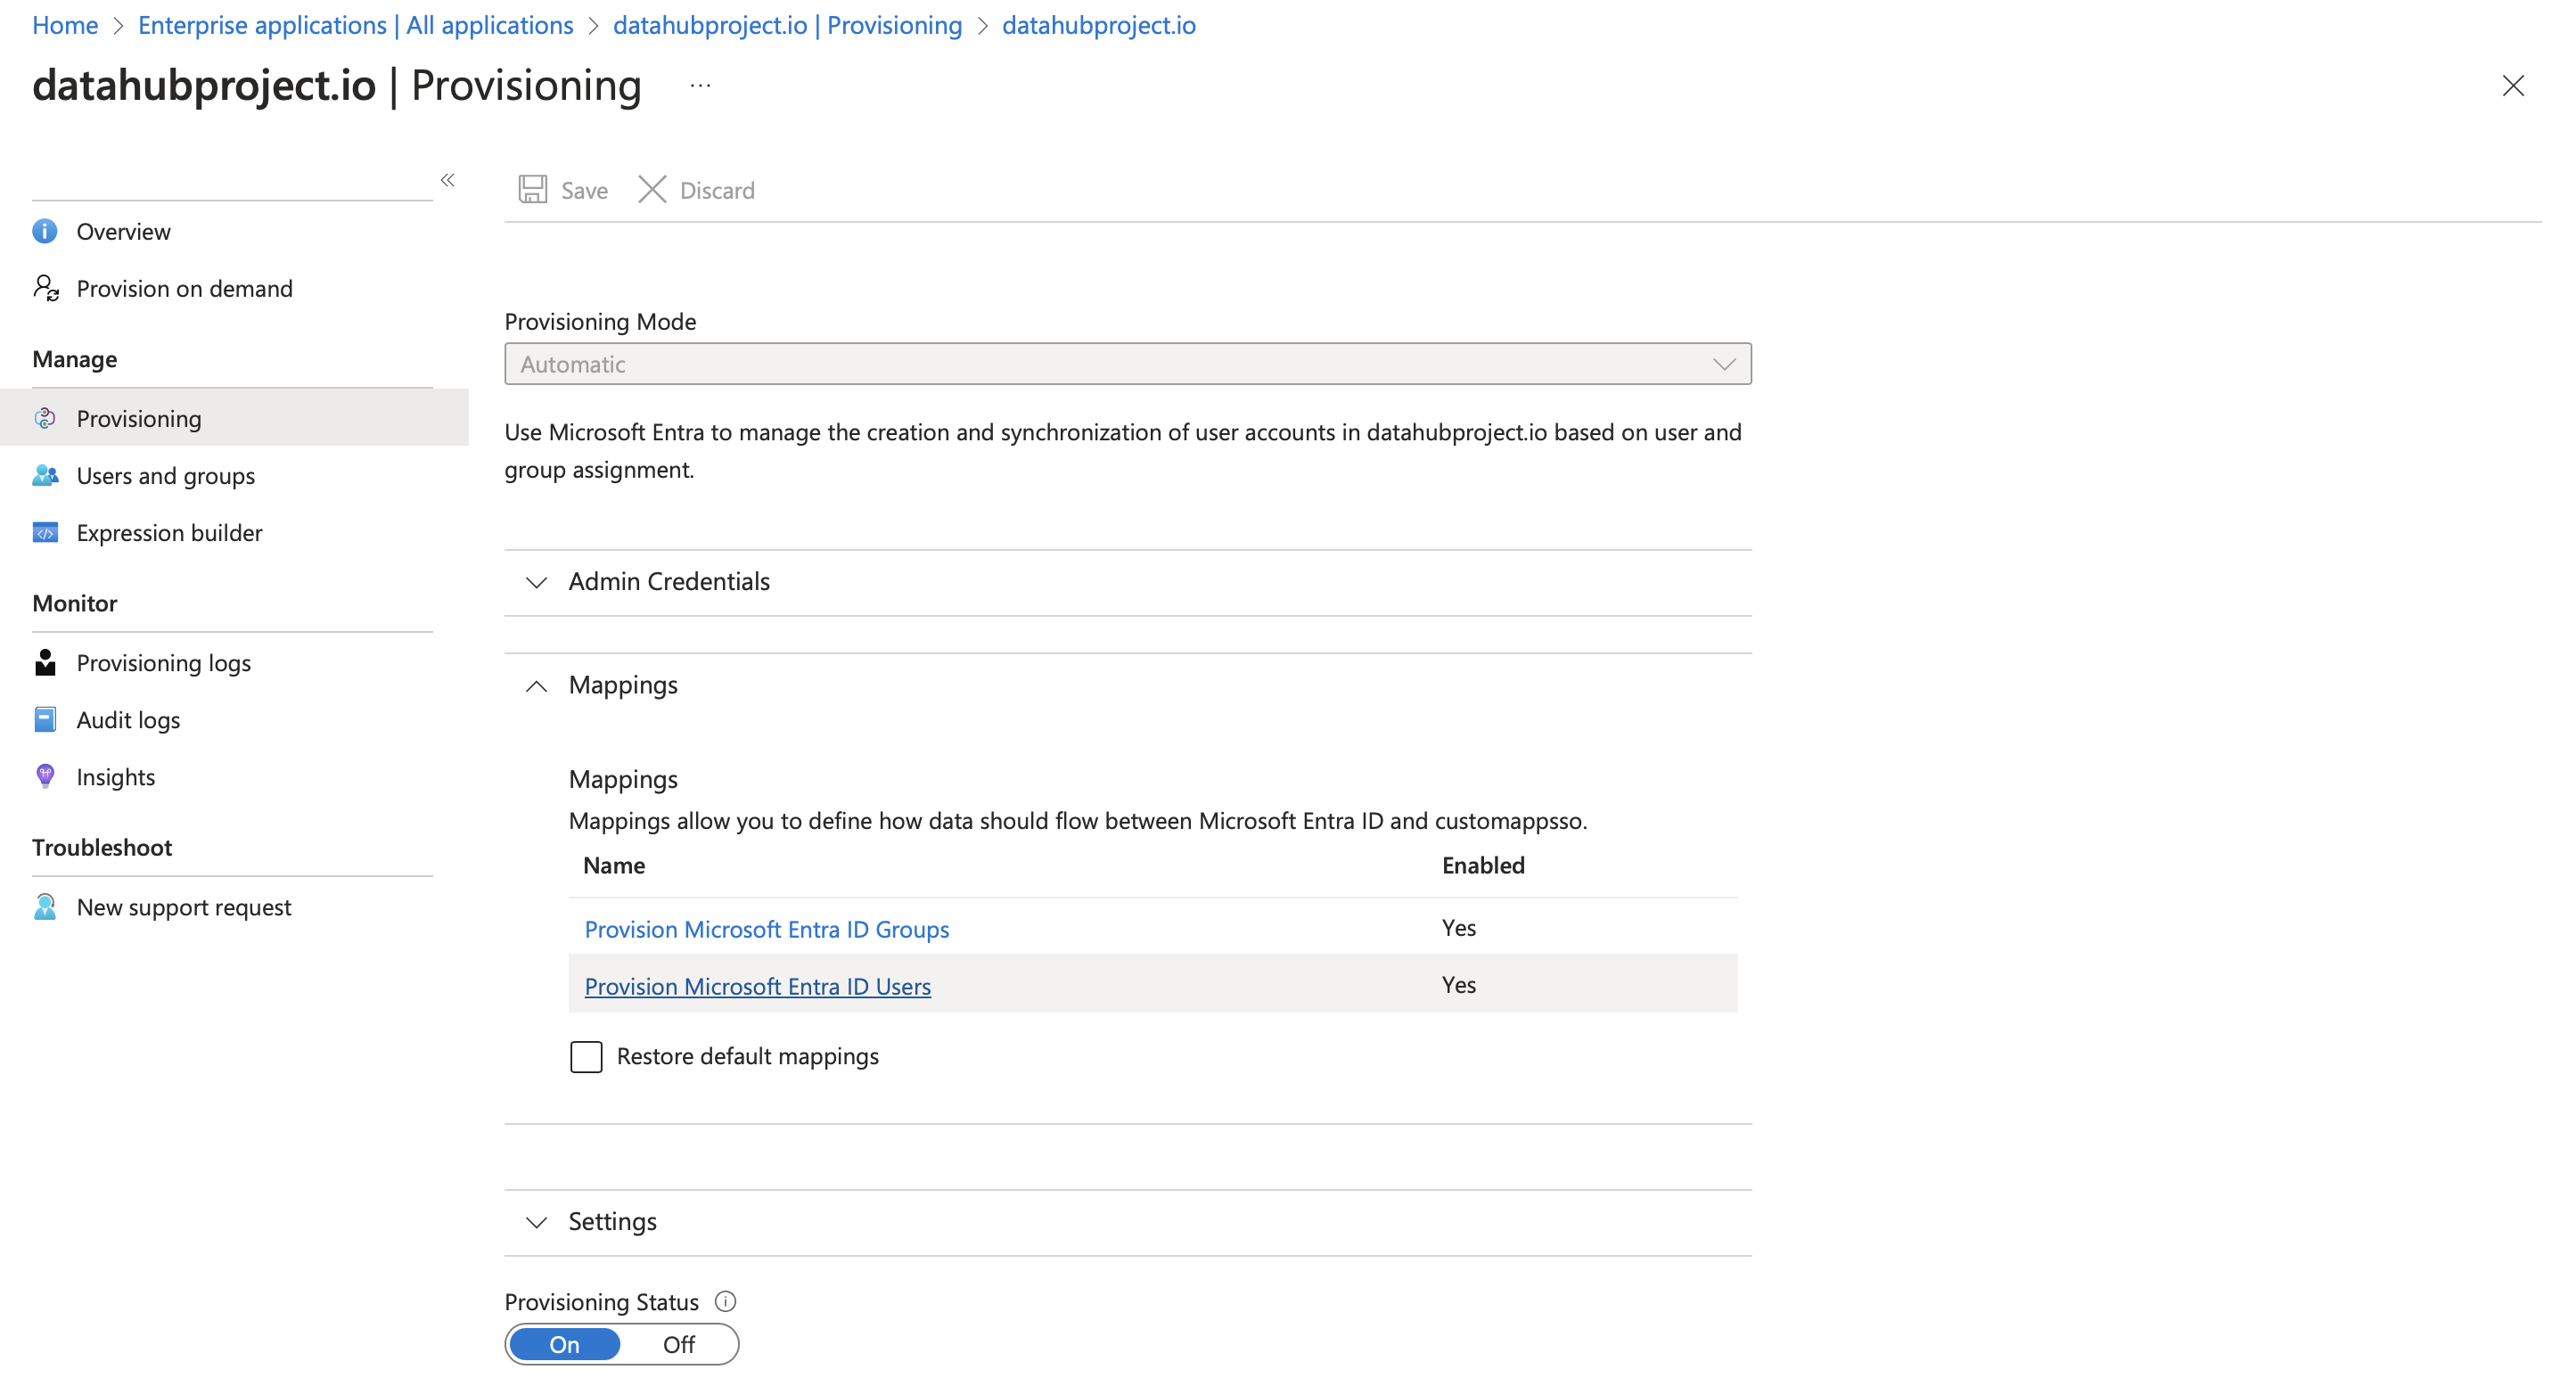
a. Go to `Provisioning` section inside the App and click on `Provision Microsoft Entra ID Users` as shown in below image
b. Click on `Add Mapping`

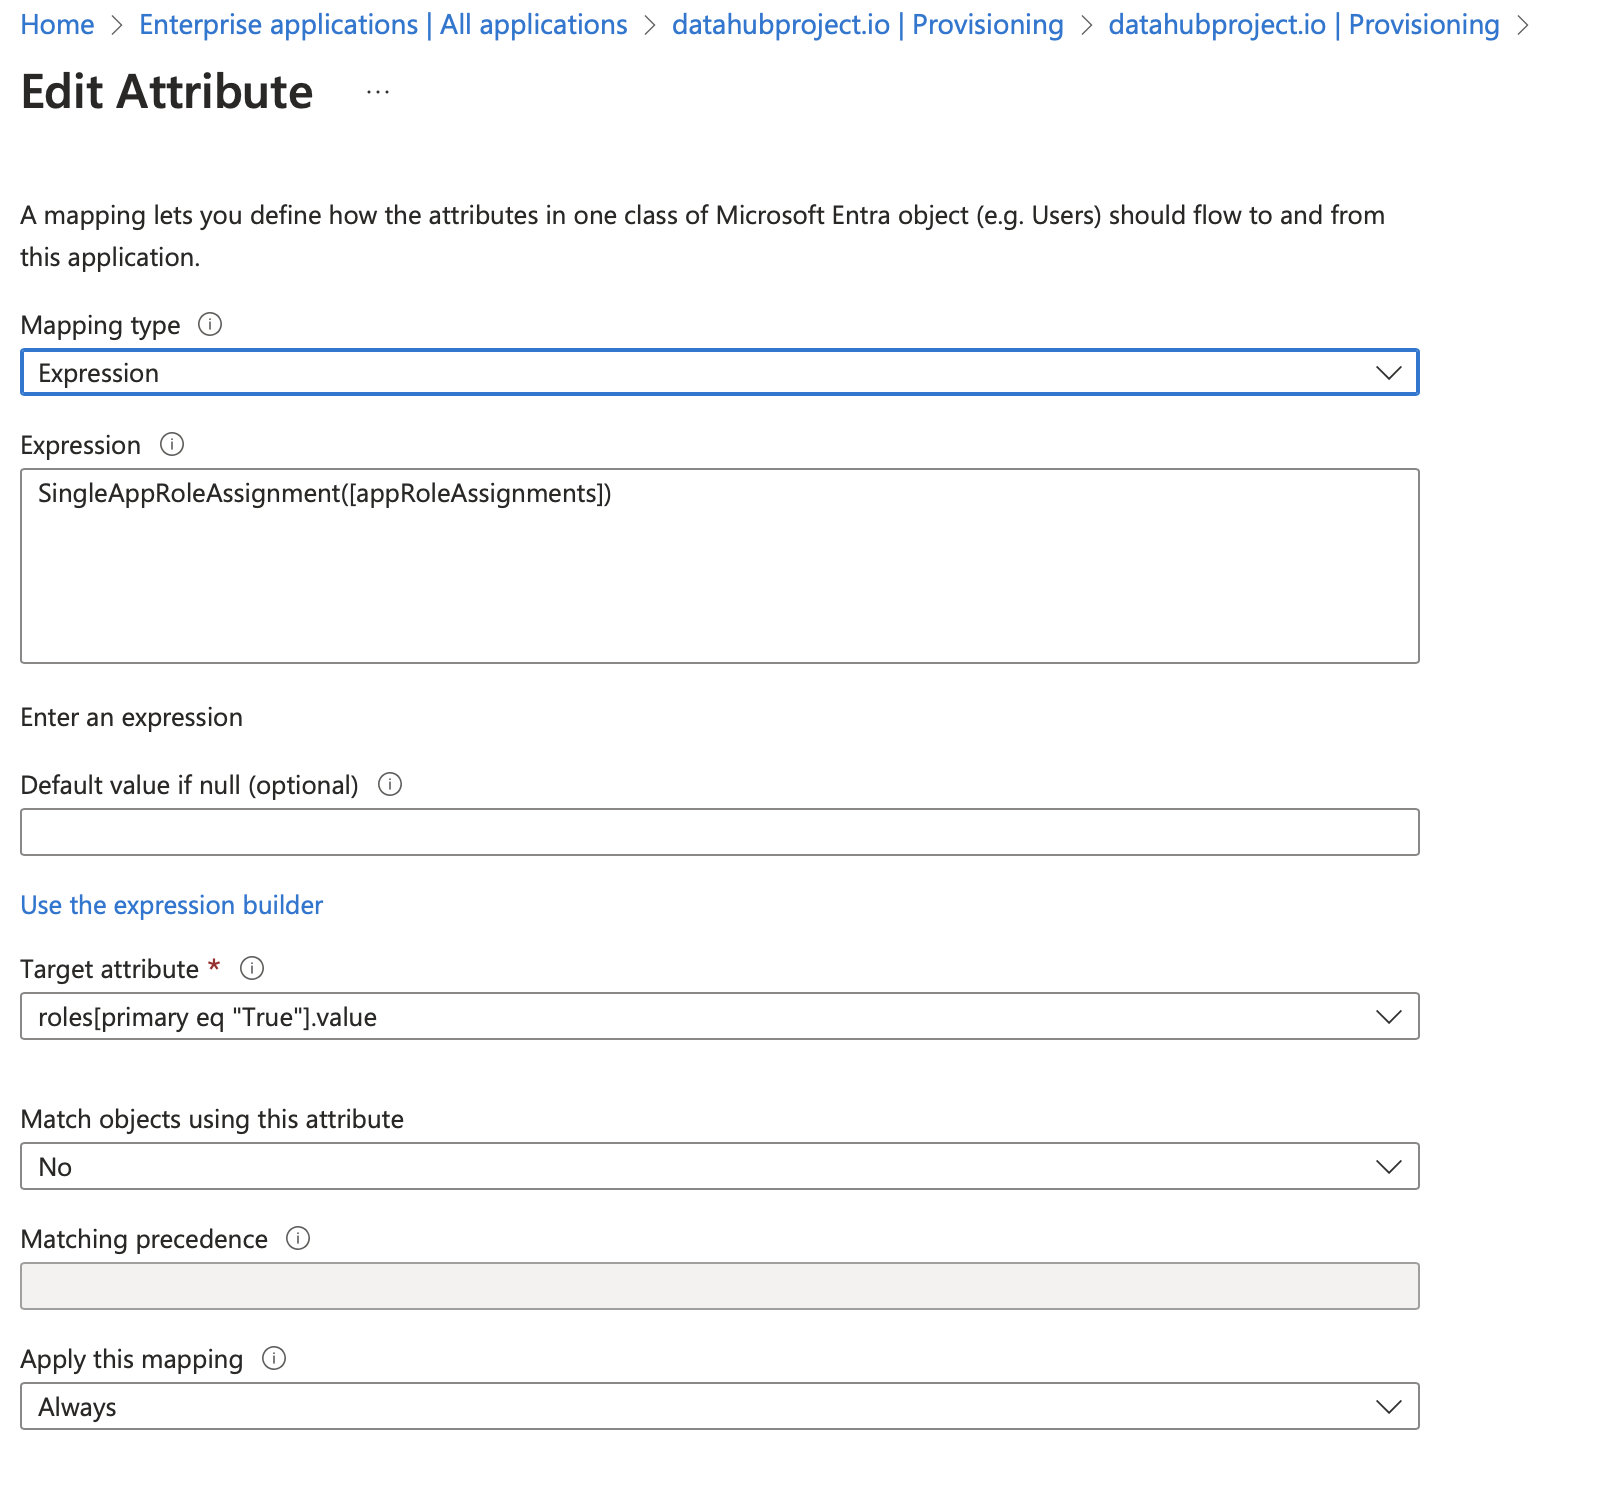
c. Fill detail as shown in below image
Fill listed fields
- Set `Mapping type` to `Expression`
- Set `Expression` to `SingleAppRoleAssignment([appRoleAssignments])`
- Set `Target attribute` to `roles[primary eq "True"].value`
- Set `Match objects using this attribute` to `No`
- Set `Apply this mapping` to `Always`
d. **Create Role**: Go back to the app created in Step #1 and go to the Provisioning section and click on application registration. to create the role
Create three roles having `Display Name` and `Value` as mentioned below
- Admin
- Editor
- Reader
Only these three roles are supported in DataHub.
e. While creating the App Role set `Allowed member types` to `Users/Groups`
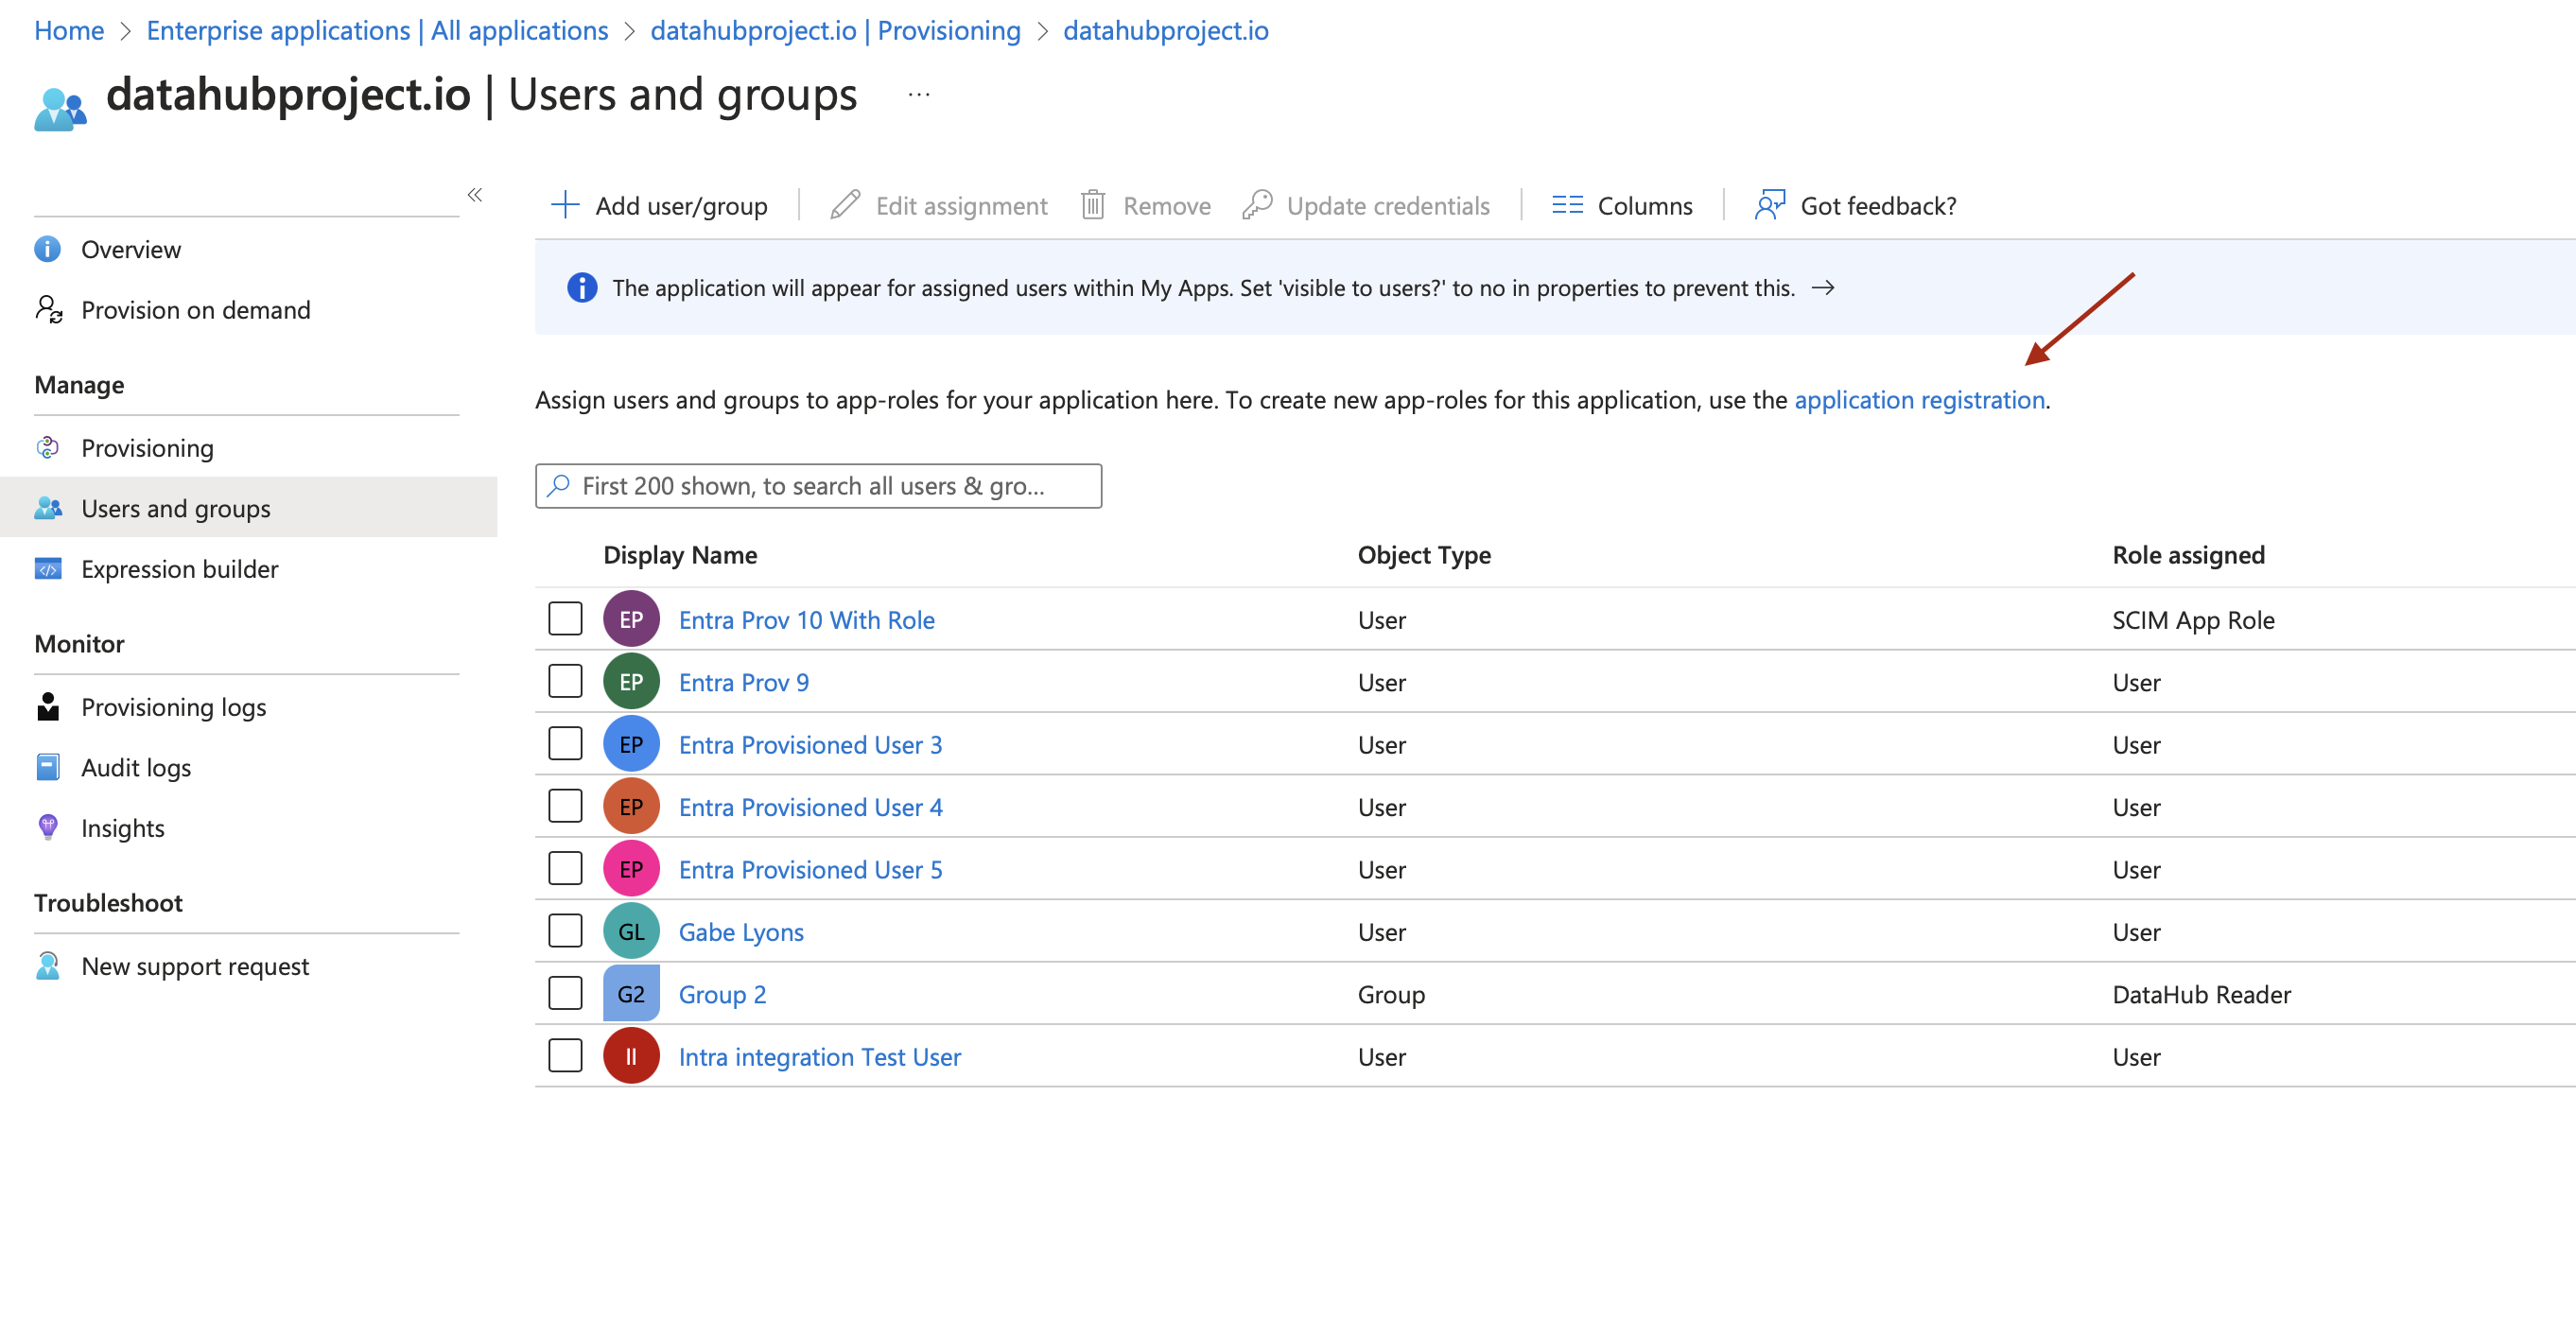
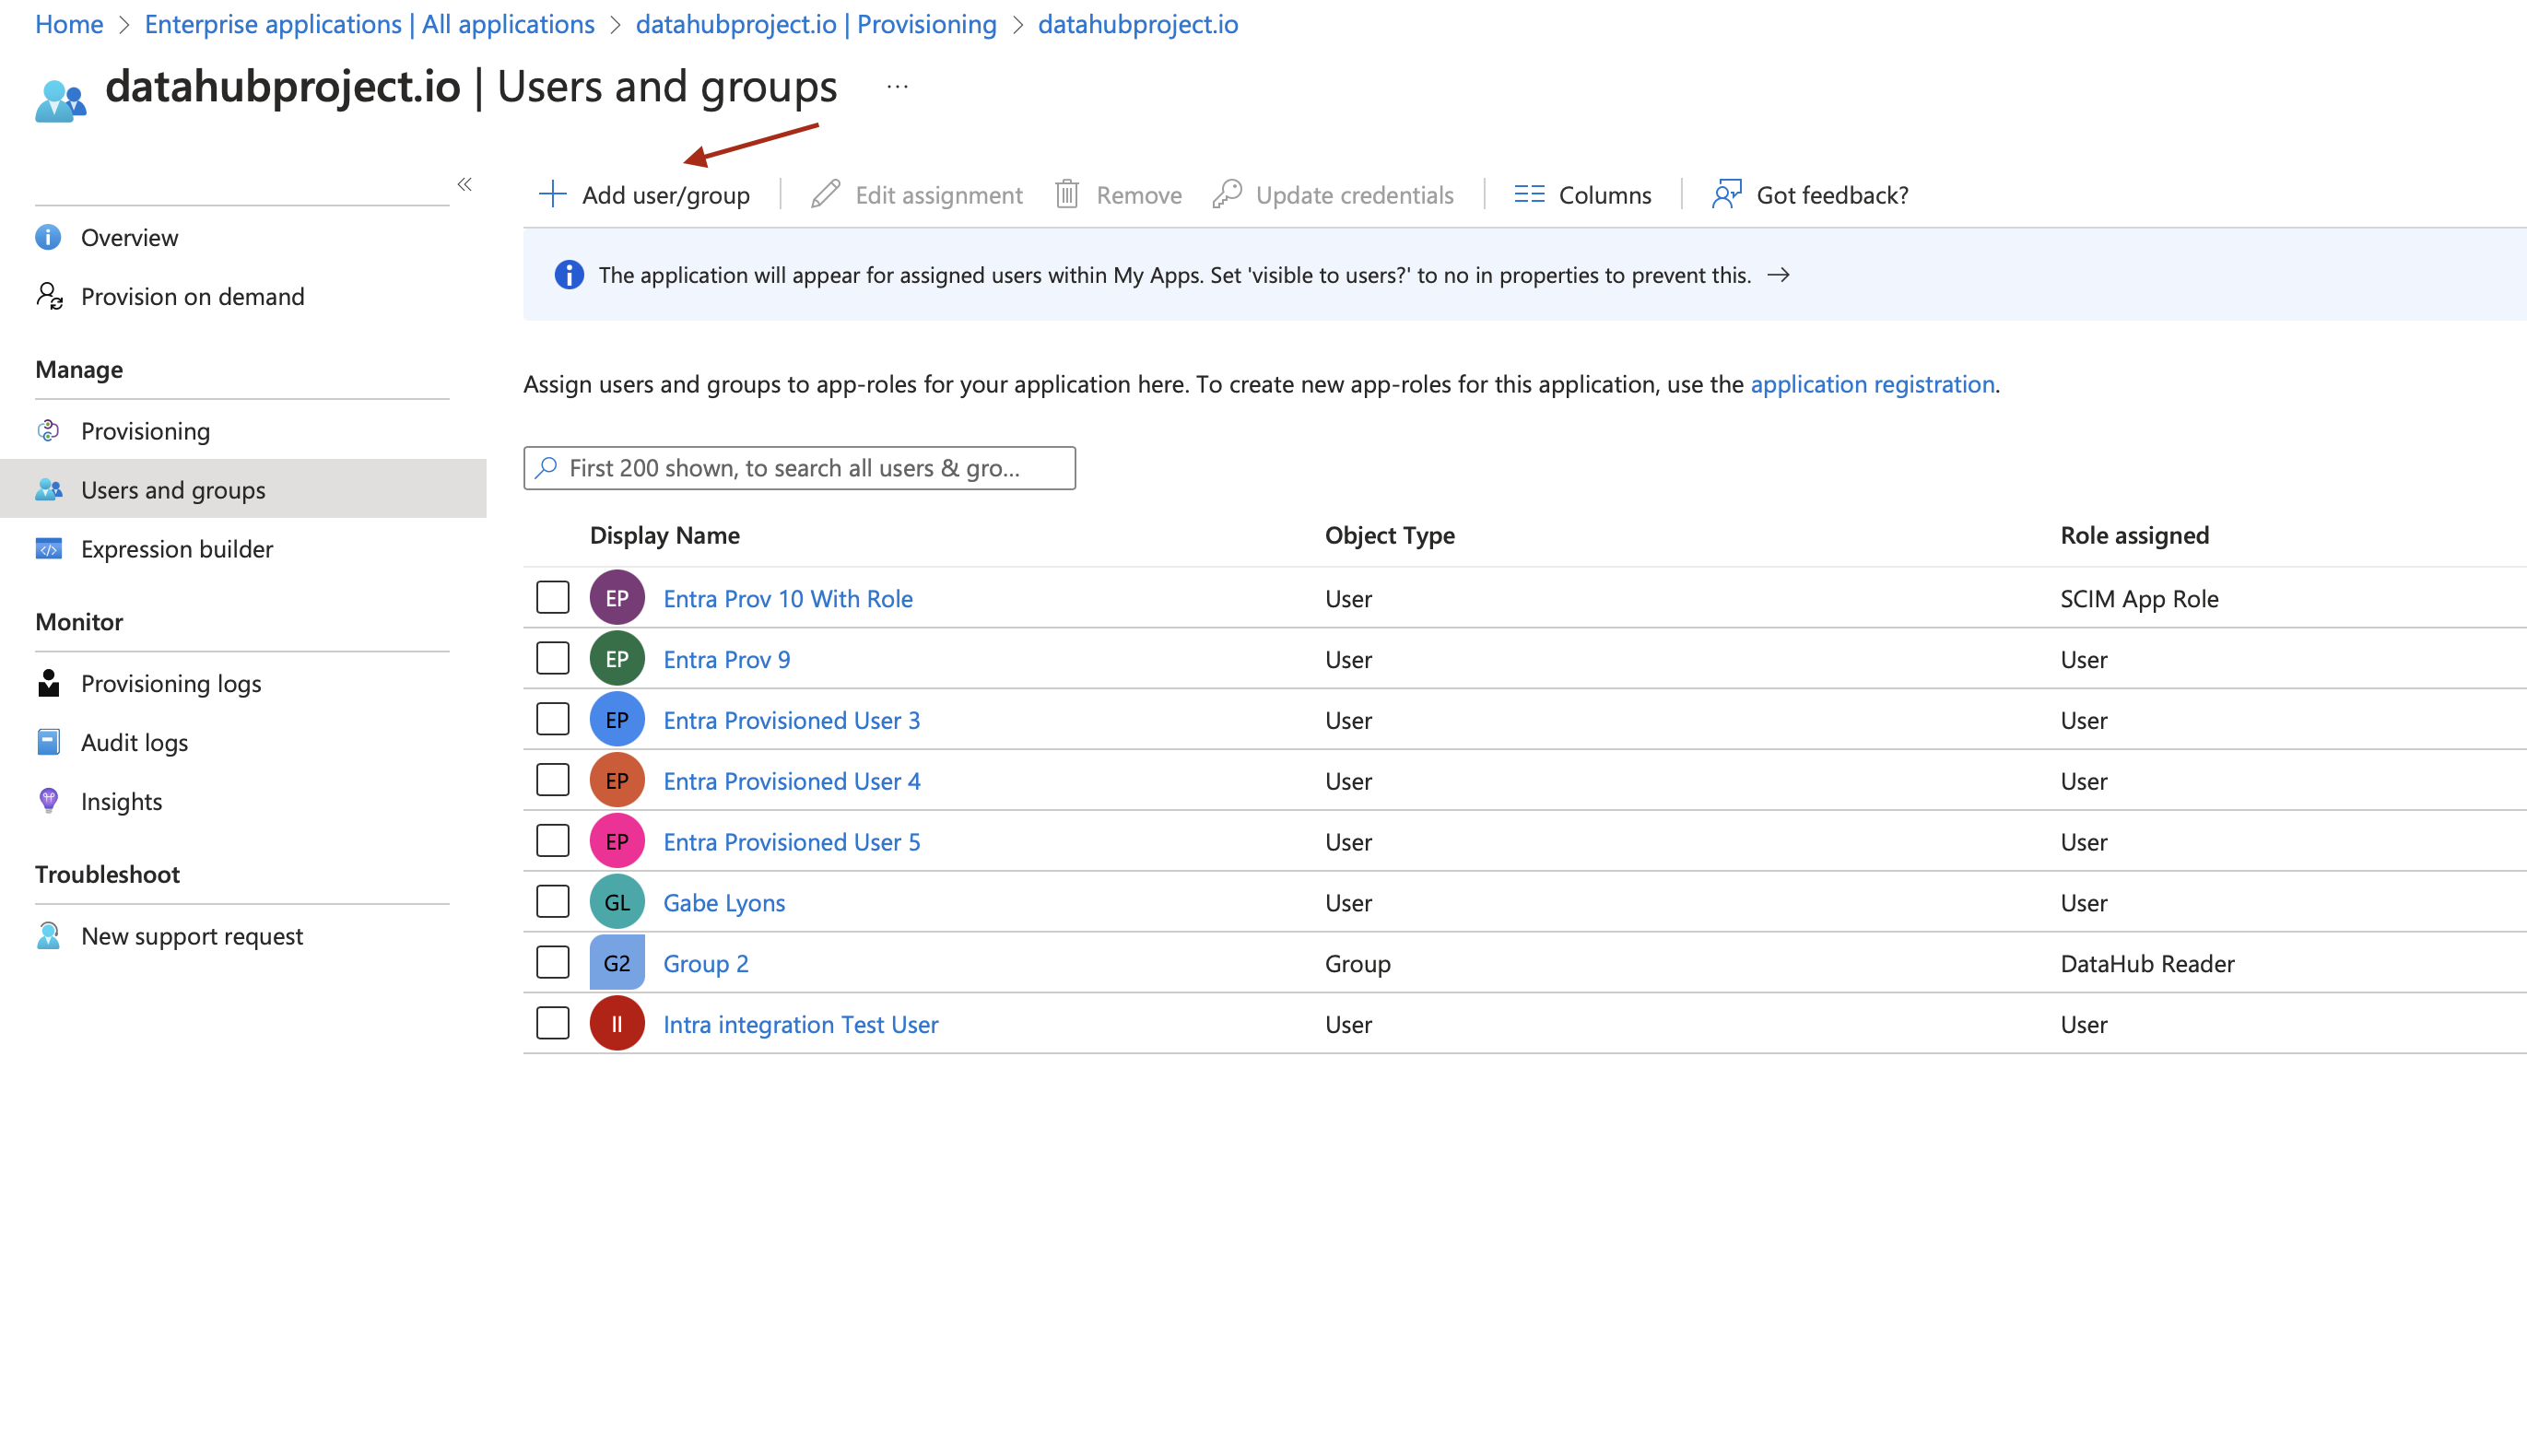
4. **Add Users/Groups/Roles in the App**: Go to application created in step #1 and click on `Add user/group` as shown in below image
On the screen choose
- Group/User
- And role for the Group/User. The role should be one of the role created in Step 3