---
title: Configuration
---
# Configuring Your Snowflake Connector to DataHub
Now that you have created a DataHub-specific user with the relevant roles in Snowflake in [the prior step](setup.md), it's now time to set up a connection via the DataHub UI.
## Configure Secrets
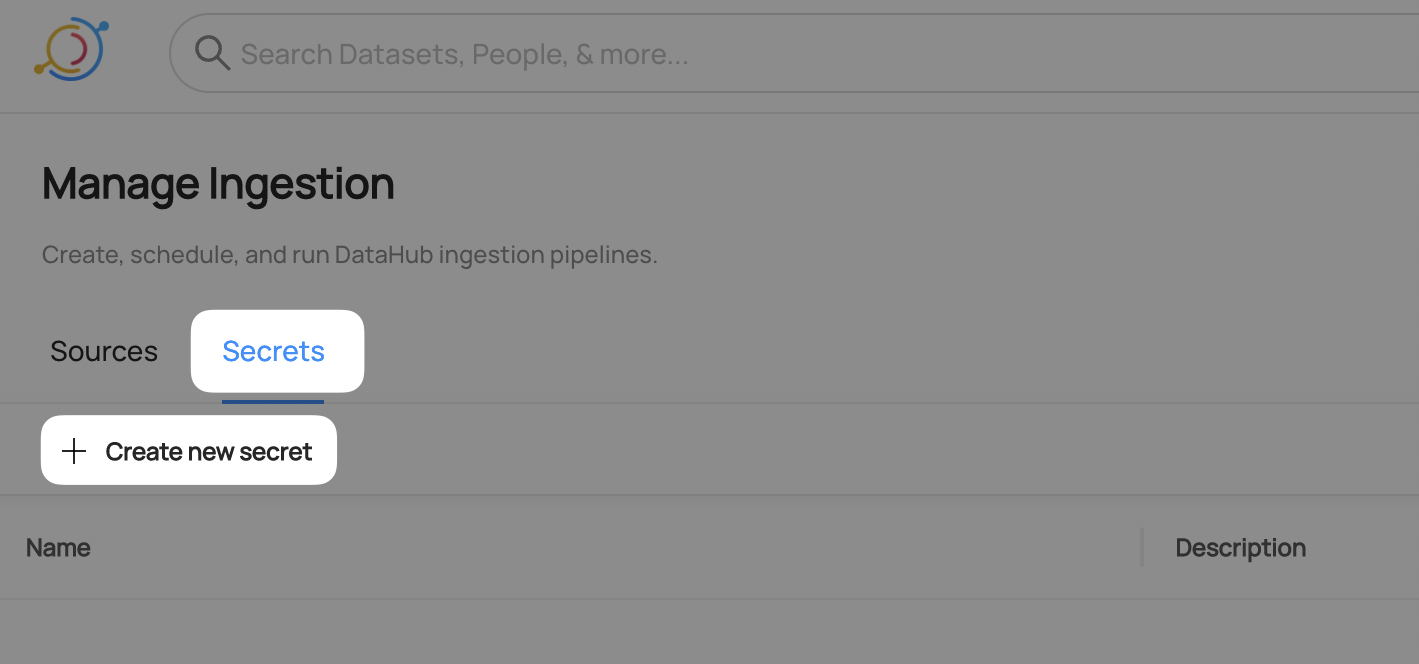
1. Within DataHub, navigate to the **Ingestion** tab in the top, right corner of your screen

:::note
If you do not see the Ingestion tab, please contact your DataHub admin to grant you the correct permissions
:::
2. Navigate to the **Secrets** tab and click **Create new secret**
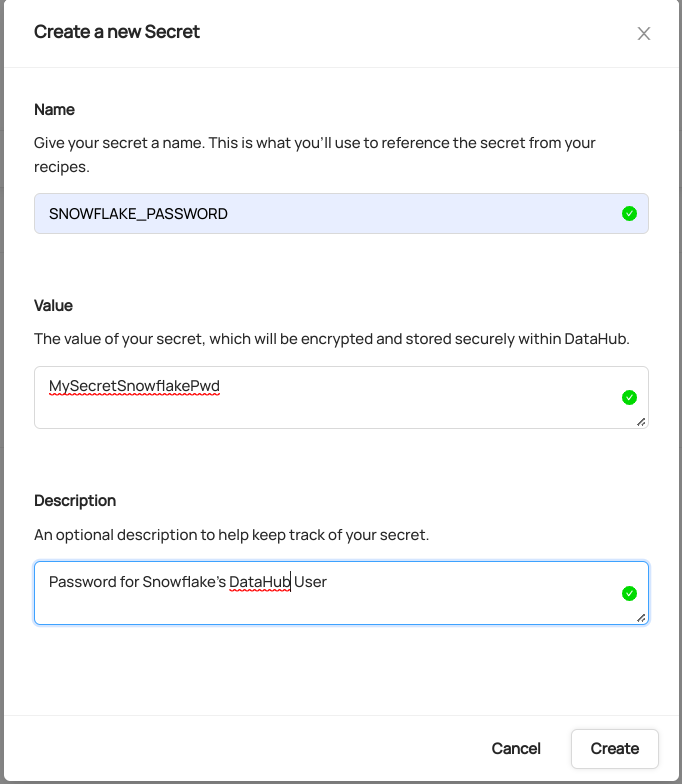
3. Create a Password secret
This will securely store your Snowflake password within DataHub
* Enter a name like `SNOWFLAKE_PASSWORD` - we will use this later to refer to the secret
* Enter the password configured for the DataHub user in the previous step
* Optionally add a description
* Click **Create**
## Configure Recipe
4. Navigate to the **Sources** tab and click **Create new source**
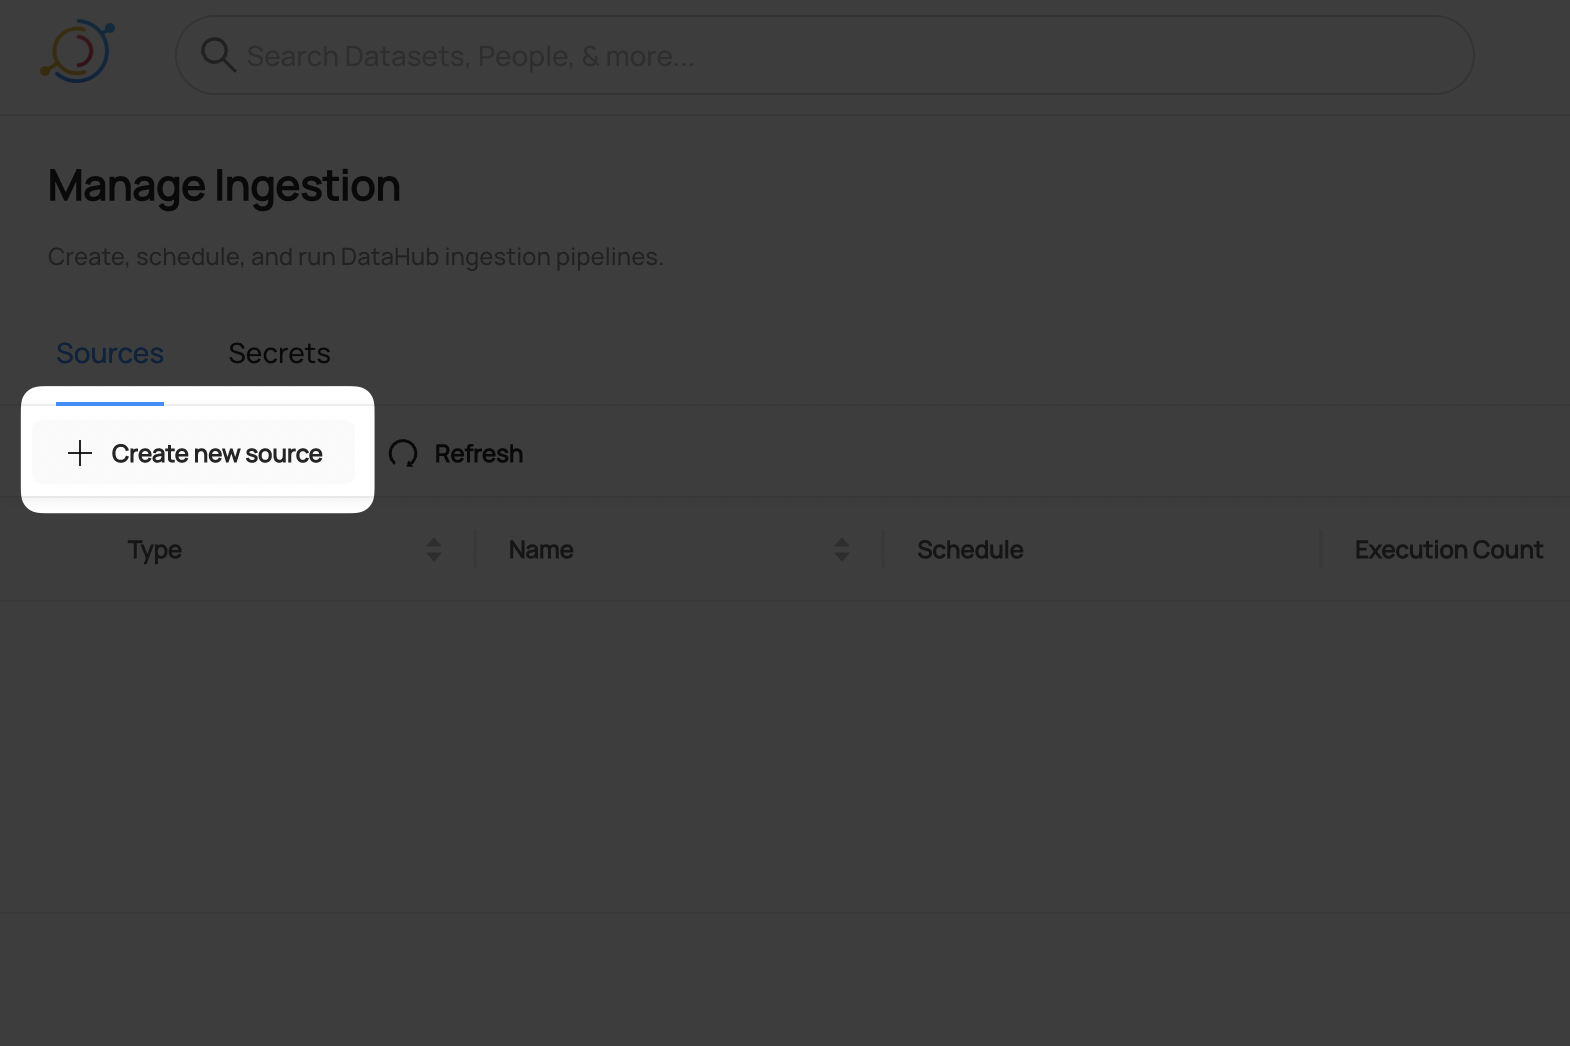
5. Select Snowflake

6. Fill out the Snowflake Recipe
Enter the Snowflake Account Identifier as **Account ID** field. Account identifier is the part before `.snowflakecomputing.com` in your snowflake host URL:
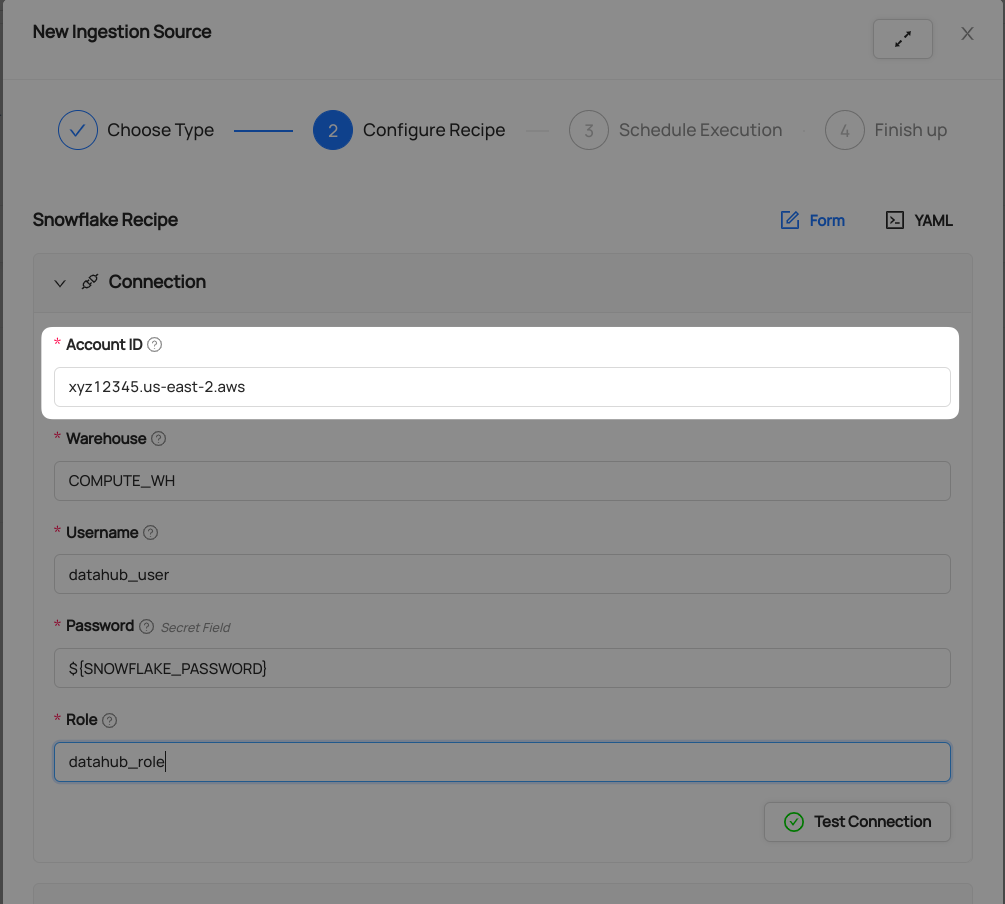
*Learn more about Snowflake Account Identifiers [here](https://docs.snowflake.com/en/user-guide/admin-account-identifier.html#account-identifiers)*
Add the previously added Password secret to **Password** field:
* Click on the Password input field
* Select `SNOWFLAKE_PASSWORD` secret
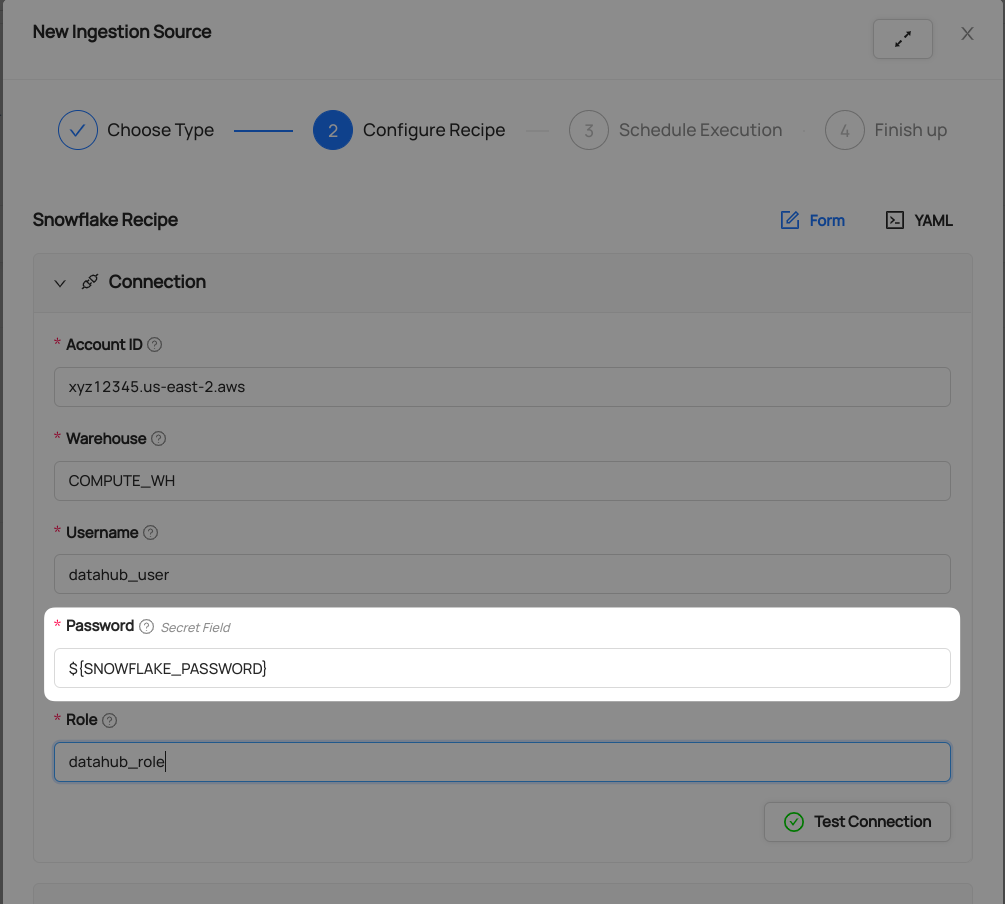
Populate the relevant fields using the same **Username**, **Role**, and **Warehouse** you created and/or specified in [Snowflake Prerequisites](setup.md).

7. Click **Test Connection**
This step will ensure you have configured your credentials accurately and confirm you have the required permissions to extract all relevant metadata.
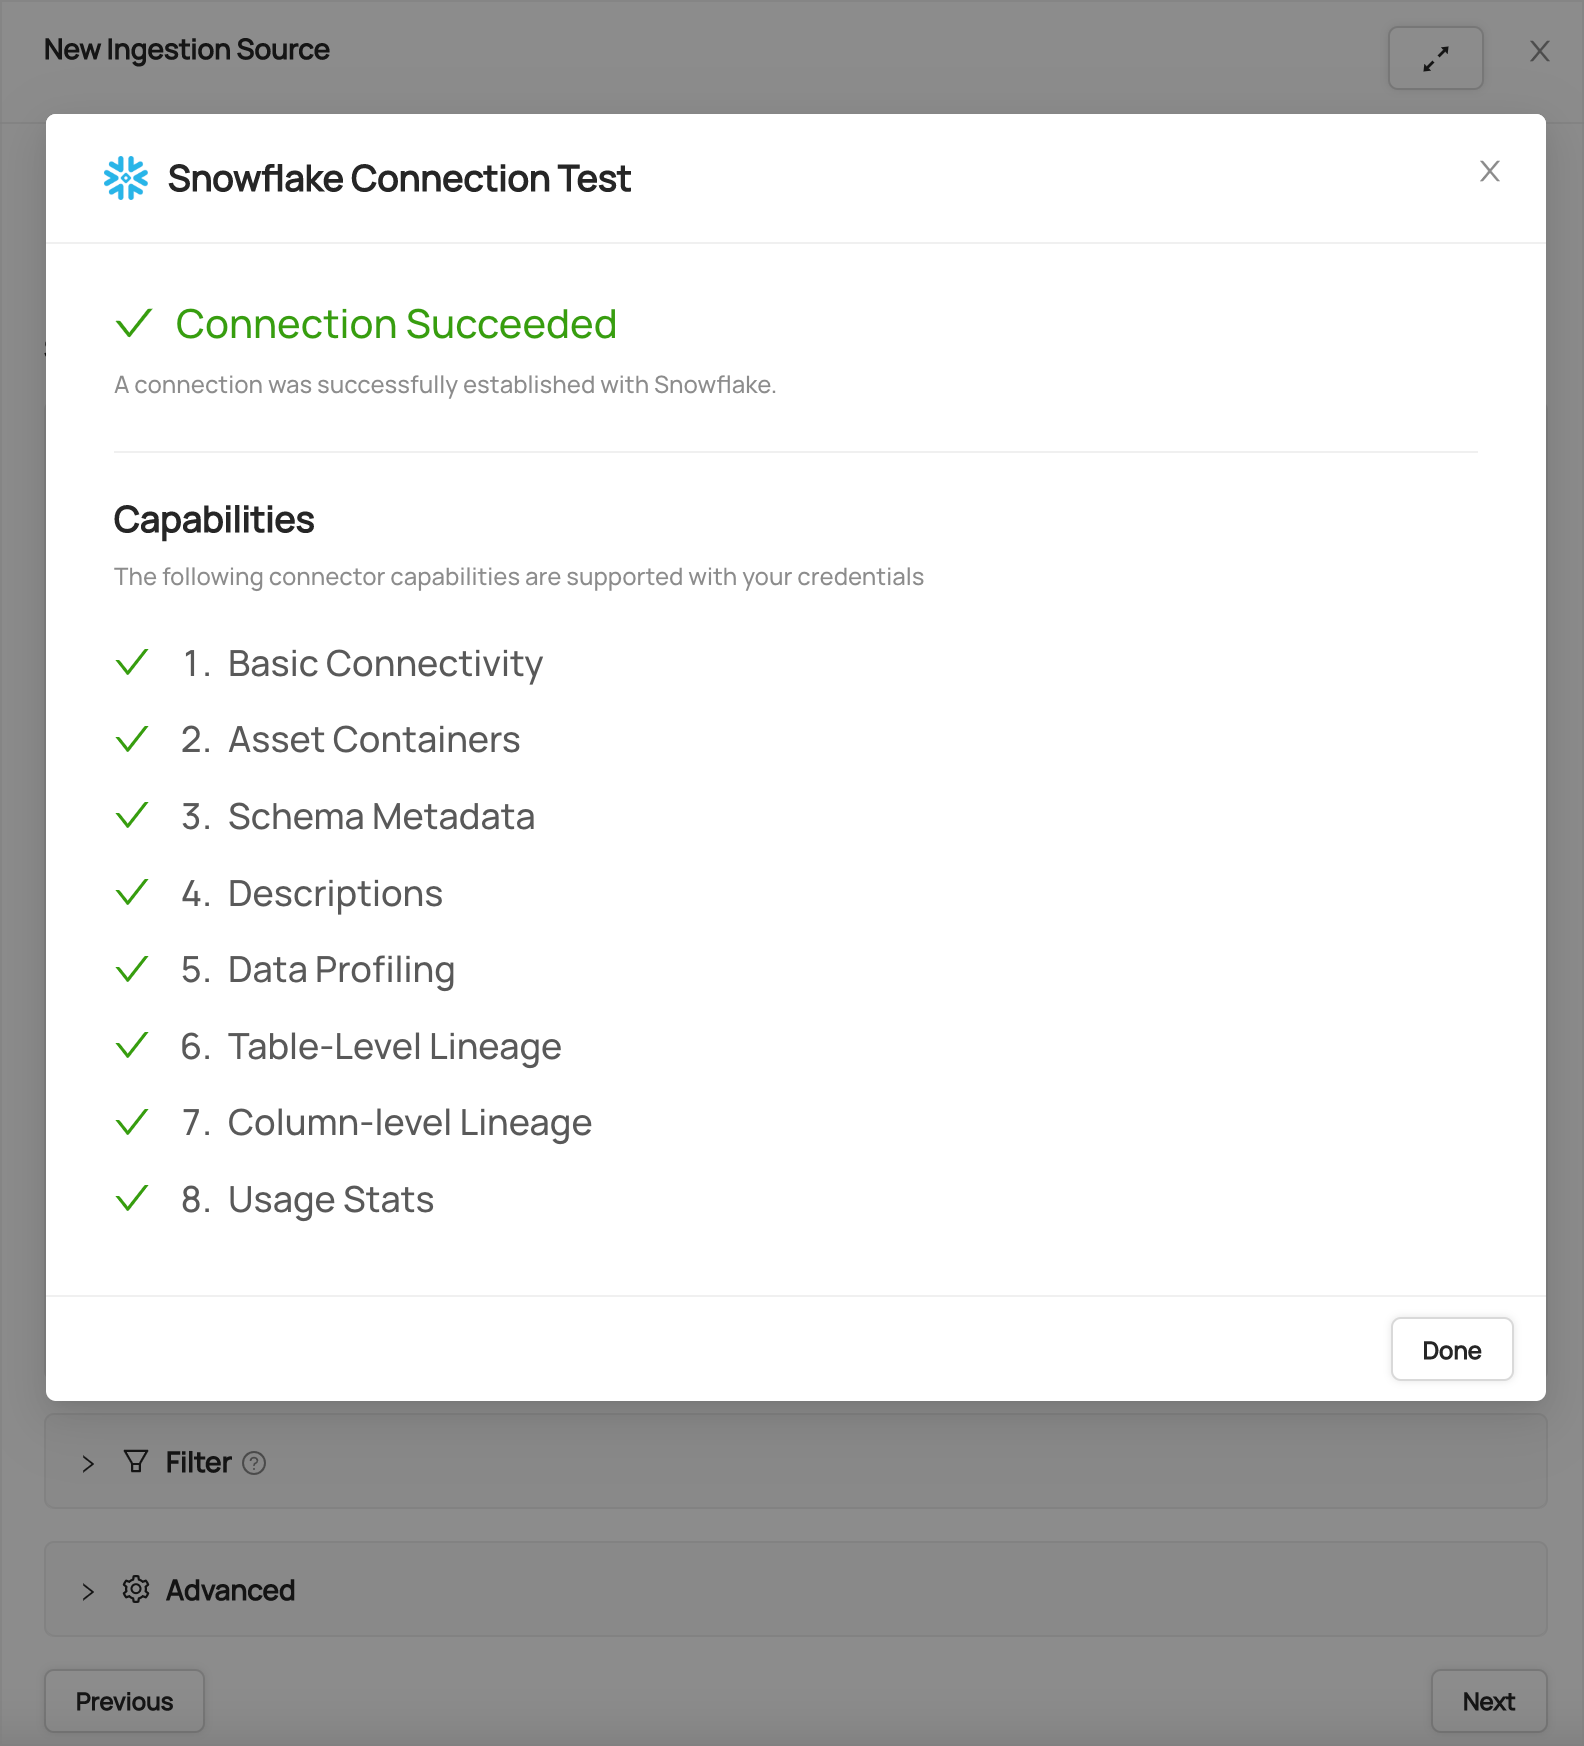
After you have successfully tested your connection, click **Next**.
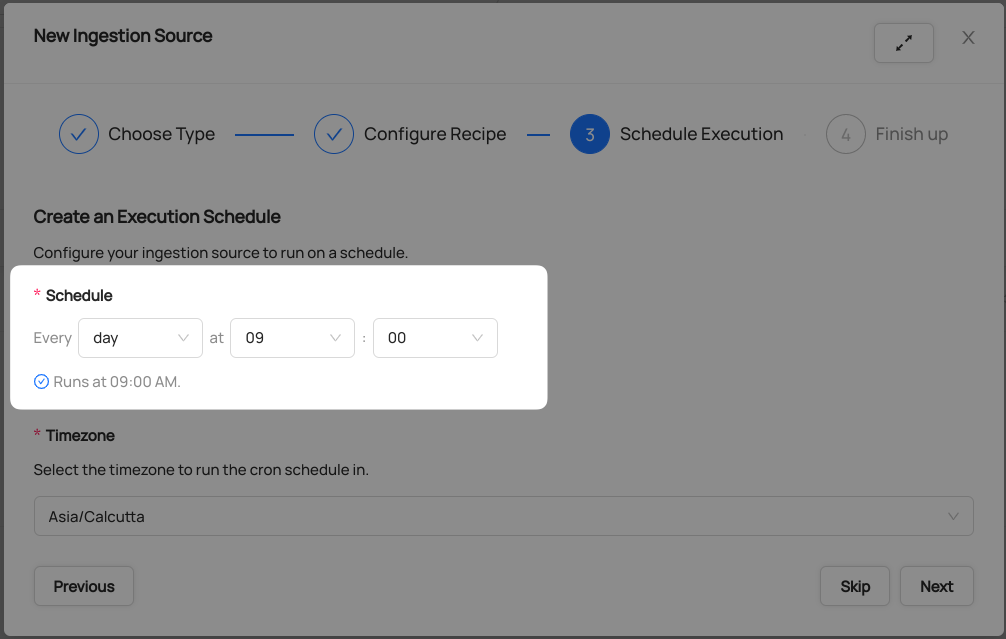
## Schedule Execution
Now it's time to schedule a recurring ingestion pipeline to regularly extract metadata from your Snowflake instance.
8. Decide how regularly you want this ingestion to run-- day, month, year, hour, minute, etc. Select from the dropdown
9. Ensure you've configured your correct timezone
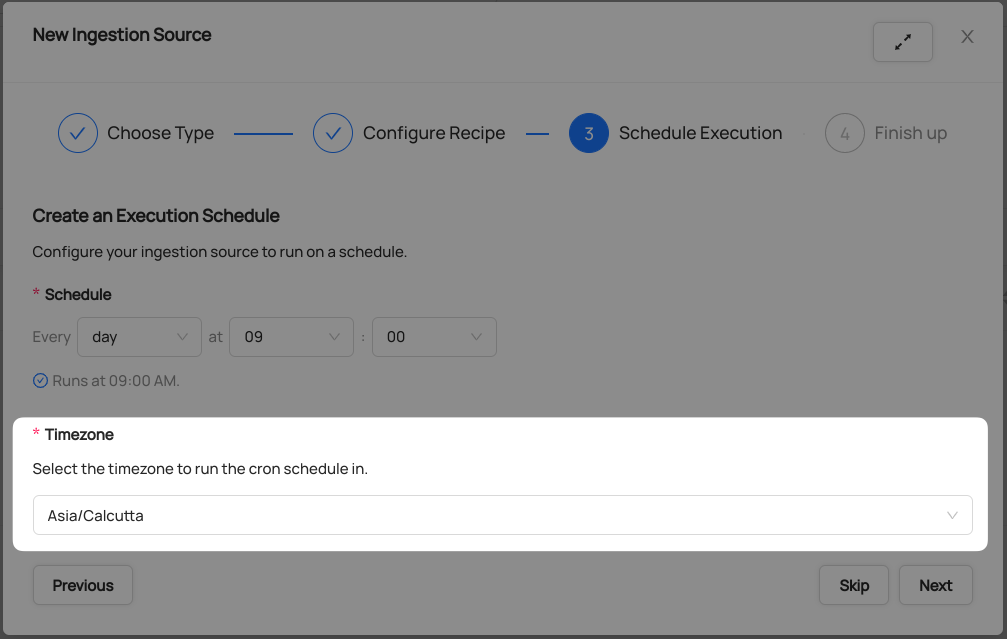
10. Click **Next** when you are done
## Finish Up
11. Name your ingestion source, then click **Save and Run**
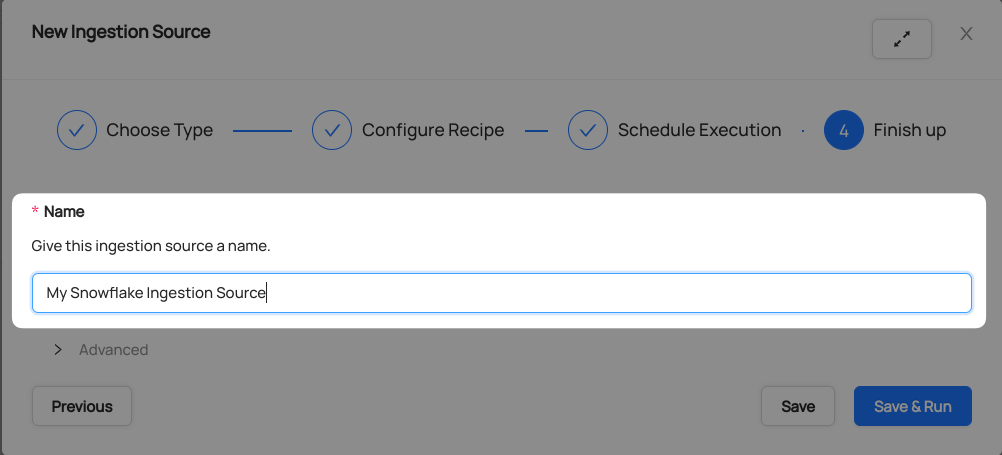
You will now find your new ingestion source running
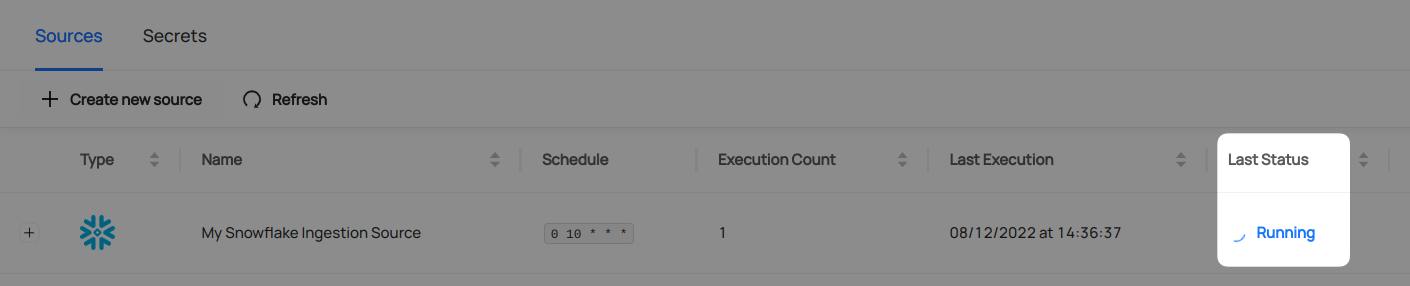
## Validate Ingestion Runs
12. View the latest status of ingestion runs on the Ingestion page

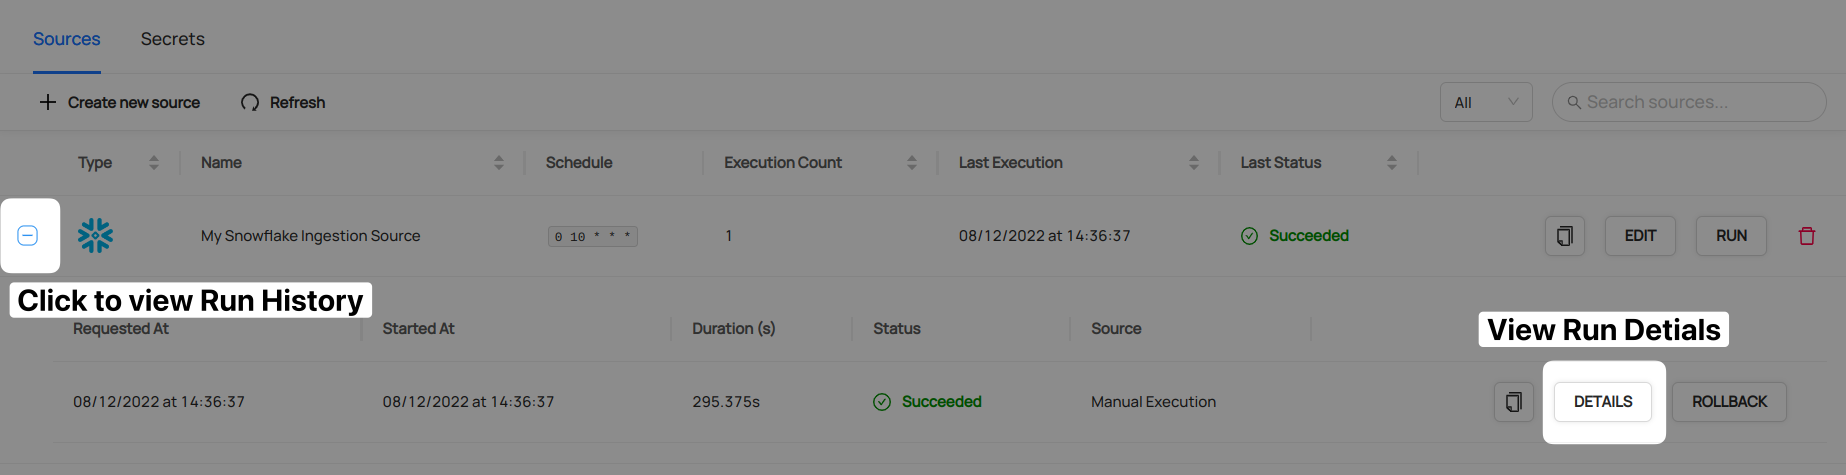
13. Click the plus sign to expand the full list of historical runs and outcomes; click **Details** to see the outcomes of a specific run
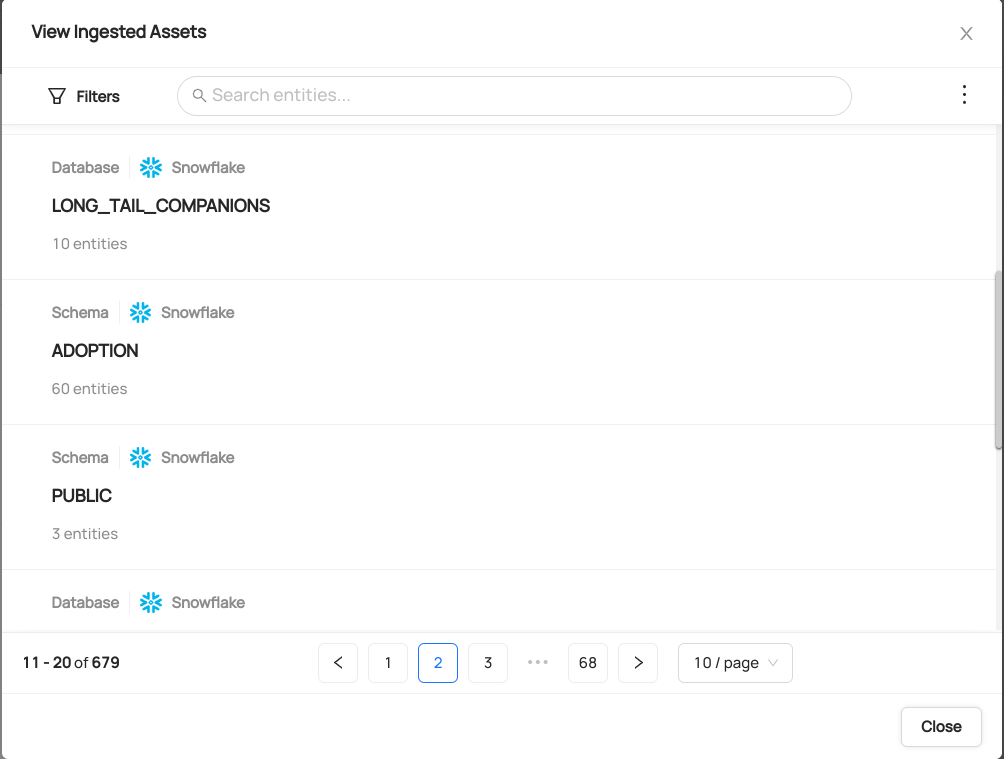
14. From the Ingestion Run Details page, pick **View All** to see which entities were ingested
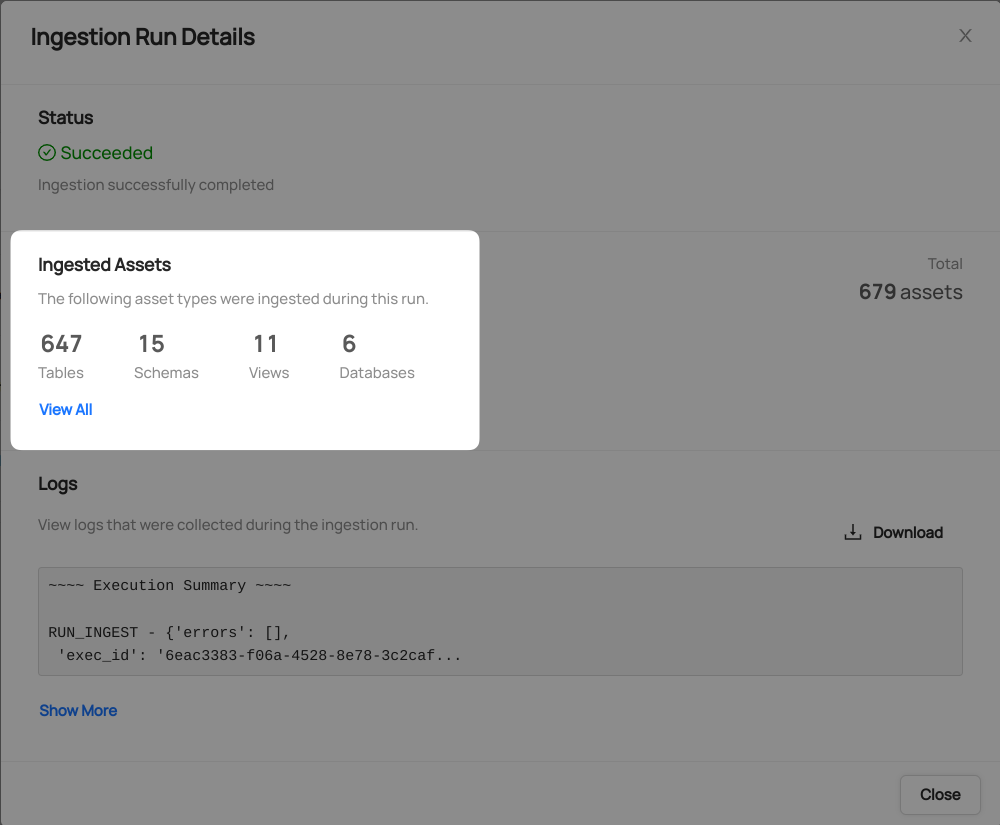
15. Pick an entity from the list to manually validate if it contains the detail you expected
**Congratulations!** You've successfully set up Snowflake as an ingestion source for DataHub!
*Need more help? Join the conversation in [Slack](http://slack.datahubproject.io)!*